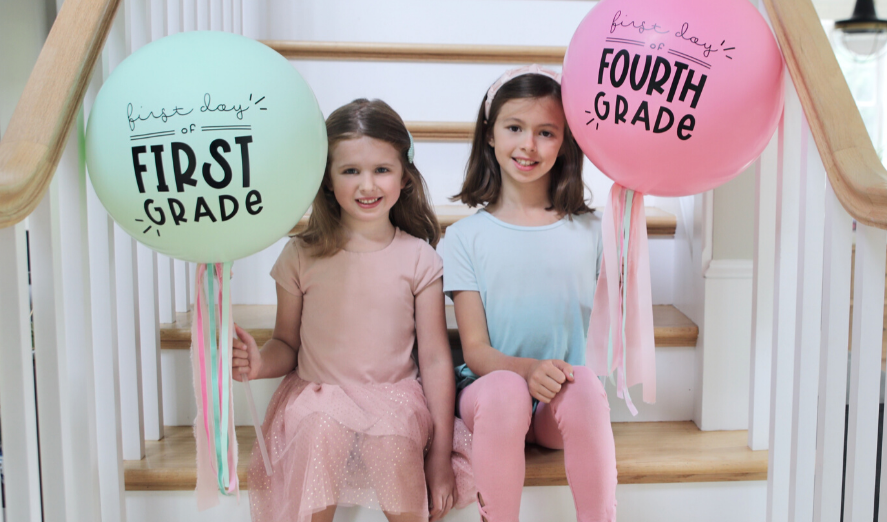

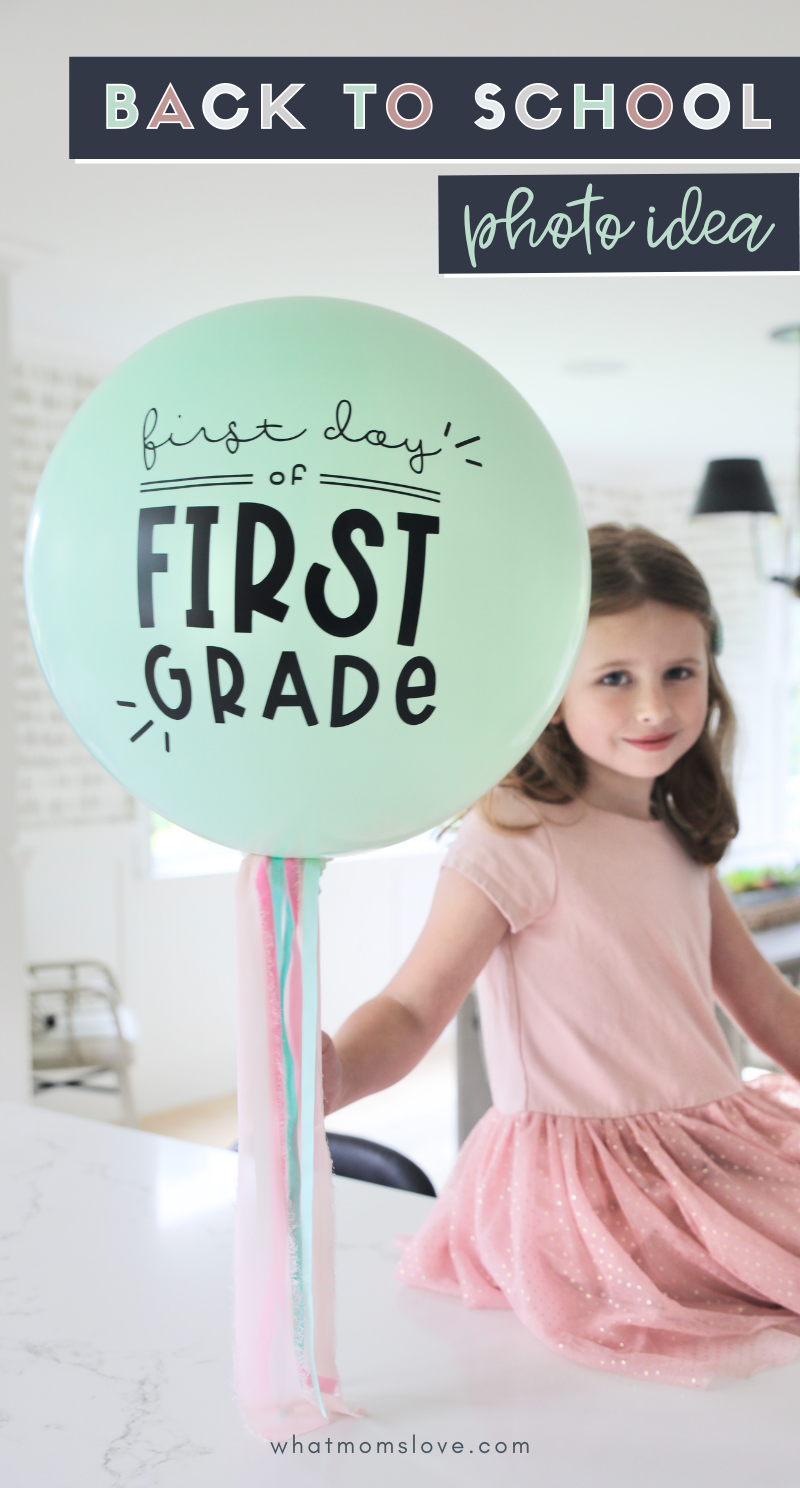
Searching for a unique back to school photo idea? Try making our “first day of” balloons! Easily customize them with your child’s age, grade or class year…read on to learn how.
It’s become a yearly tradition of so many parents to take back-to-school photos of their kids on their first day of school.
We love the idea of capturing this special moment so much, that we’ve come up with a new, creative way to do it!
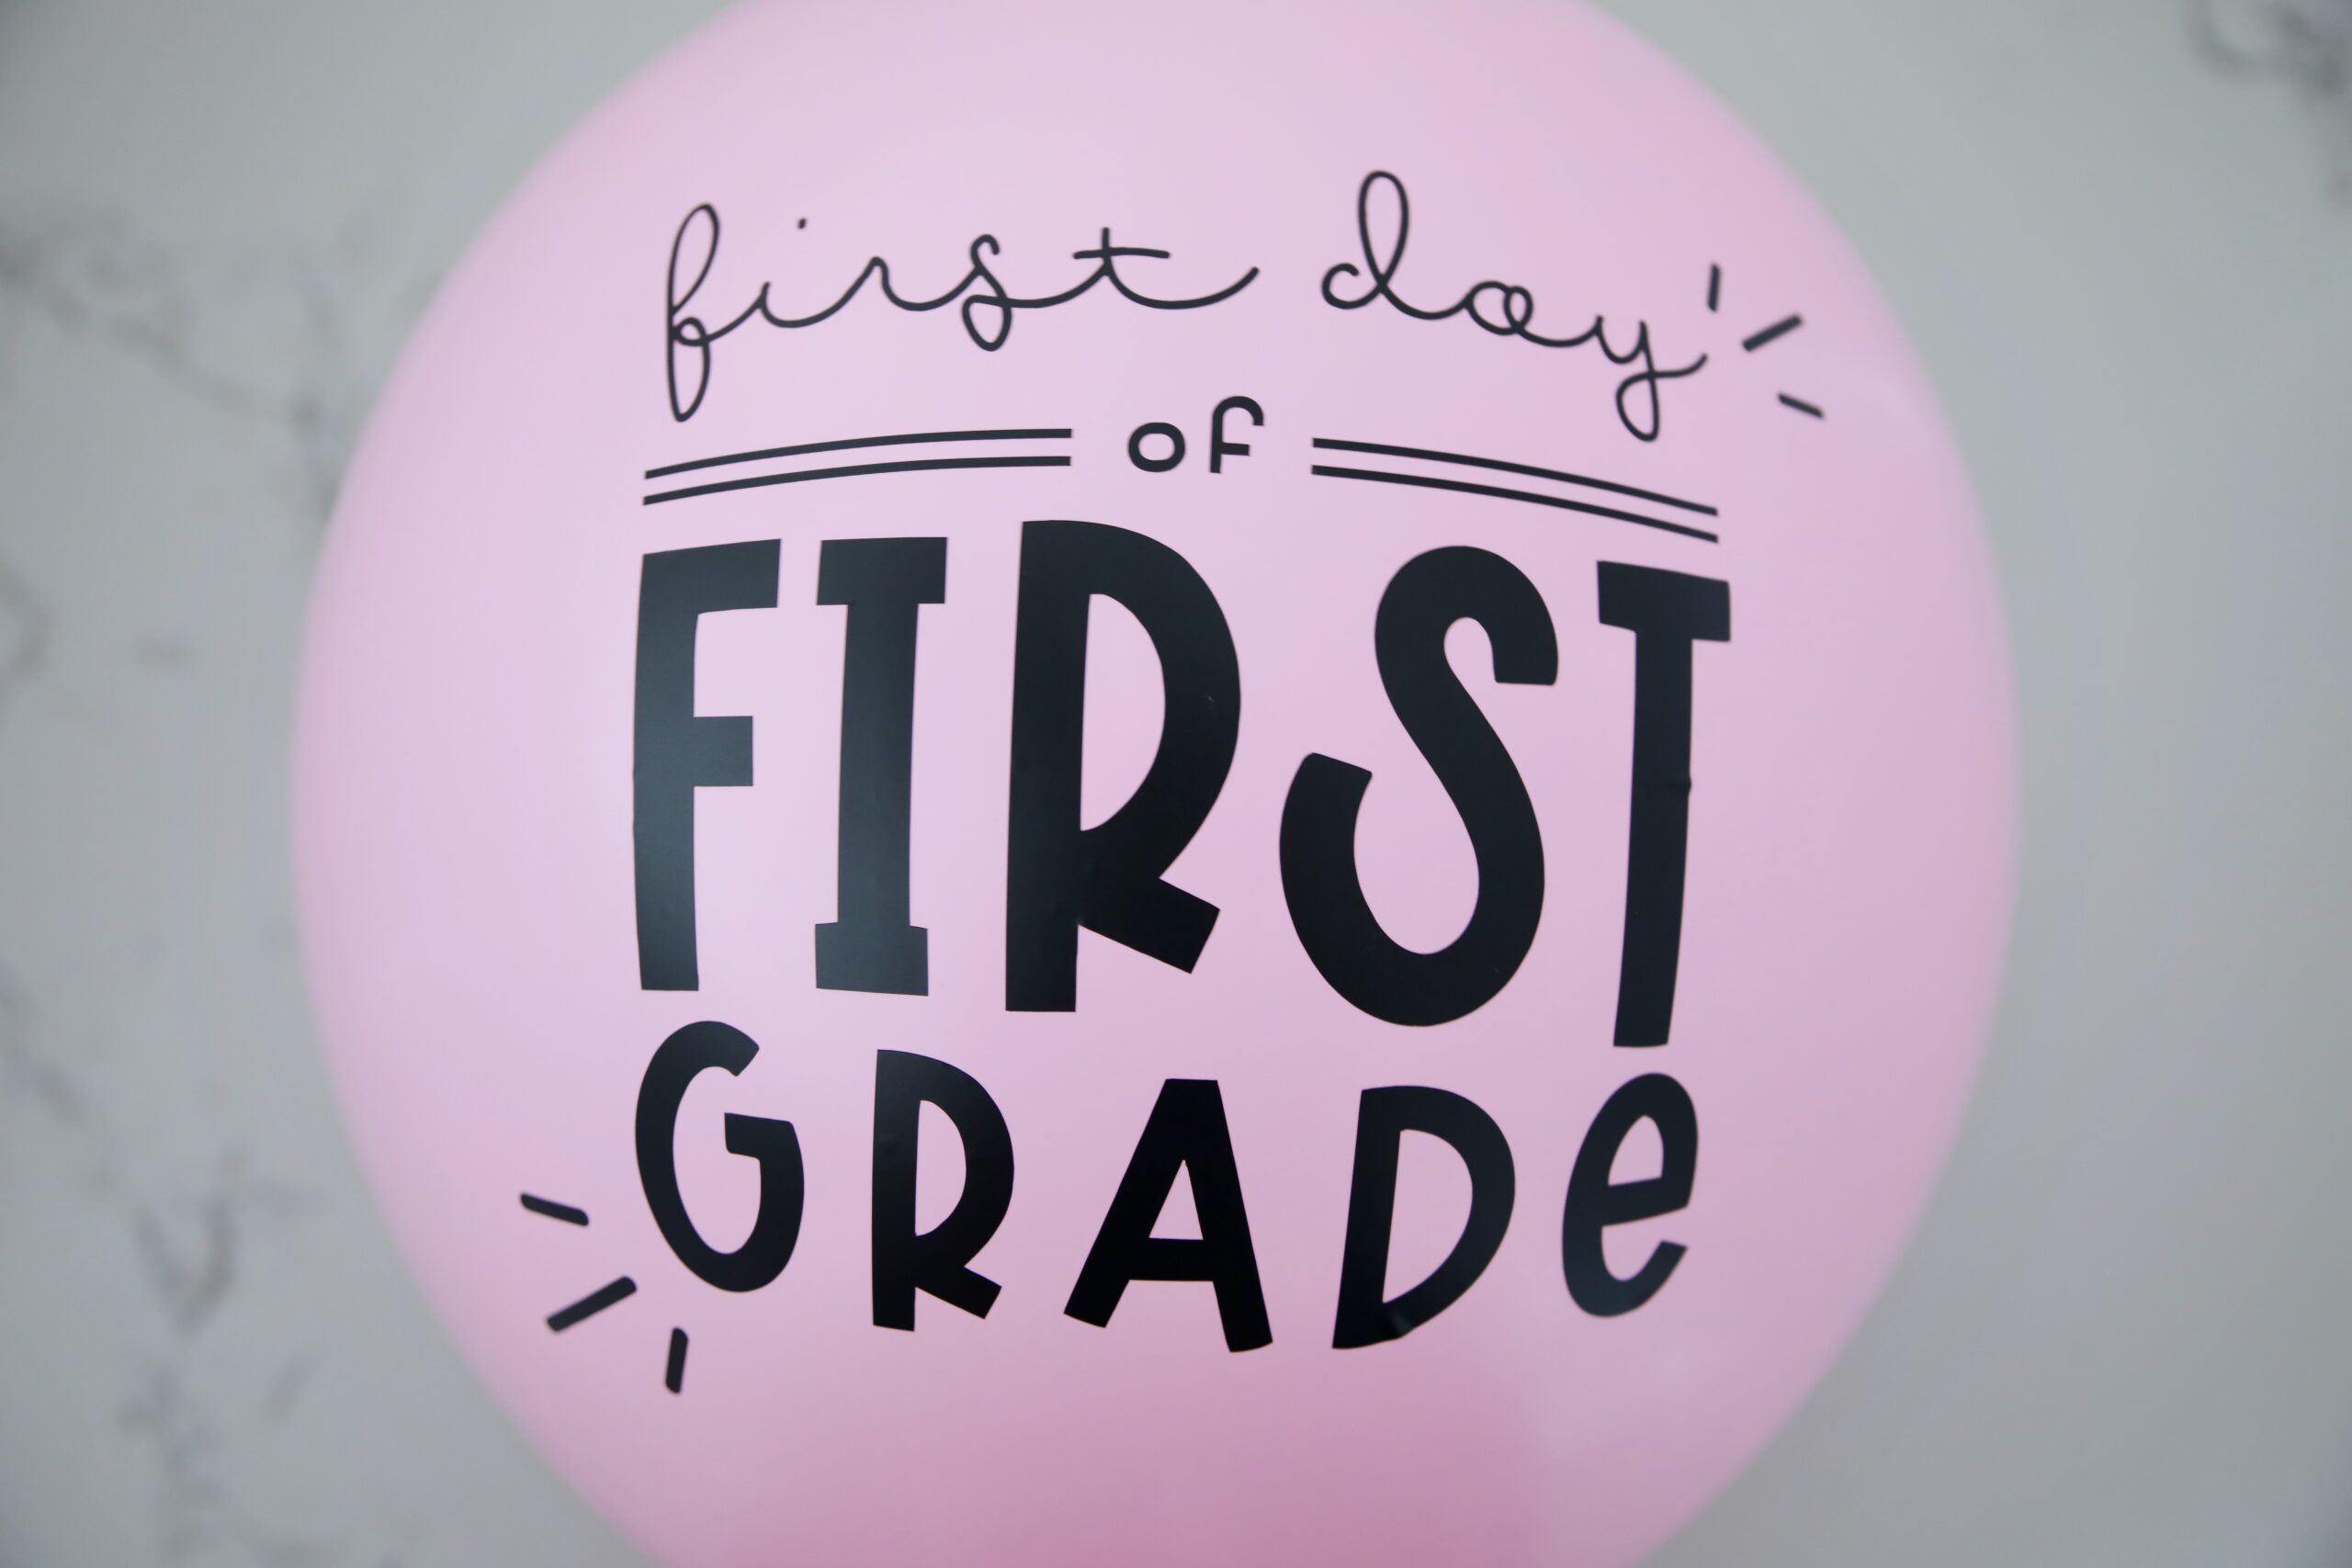
Forget the printed signs or chalkboards, our Back-to-School Balloons are a total show-stopper!
We use our trusty Cricut machine to easily design and cut the graphic out of vinyl, and then transfer it onto the balloon. We’ve got all the simple steps below.
(and yes, you can easily create these for your last day of school photos as well!)
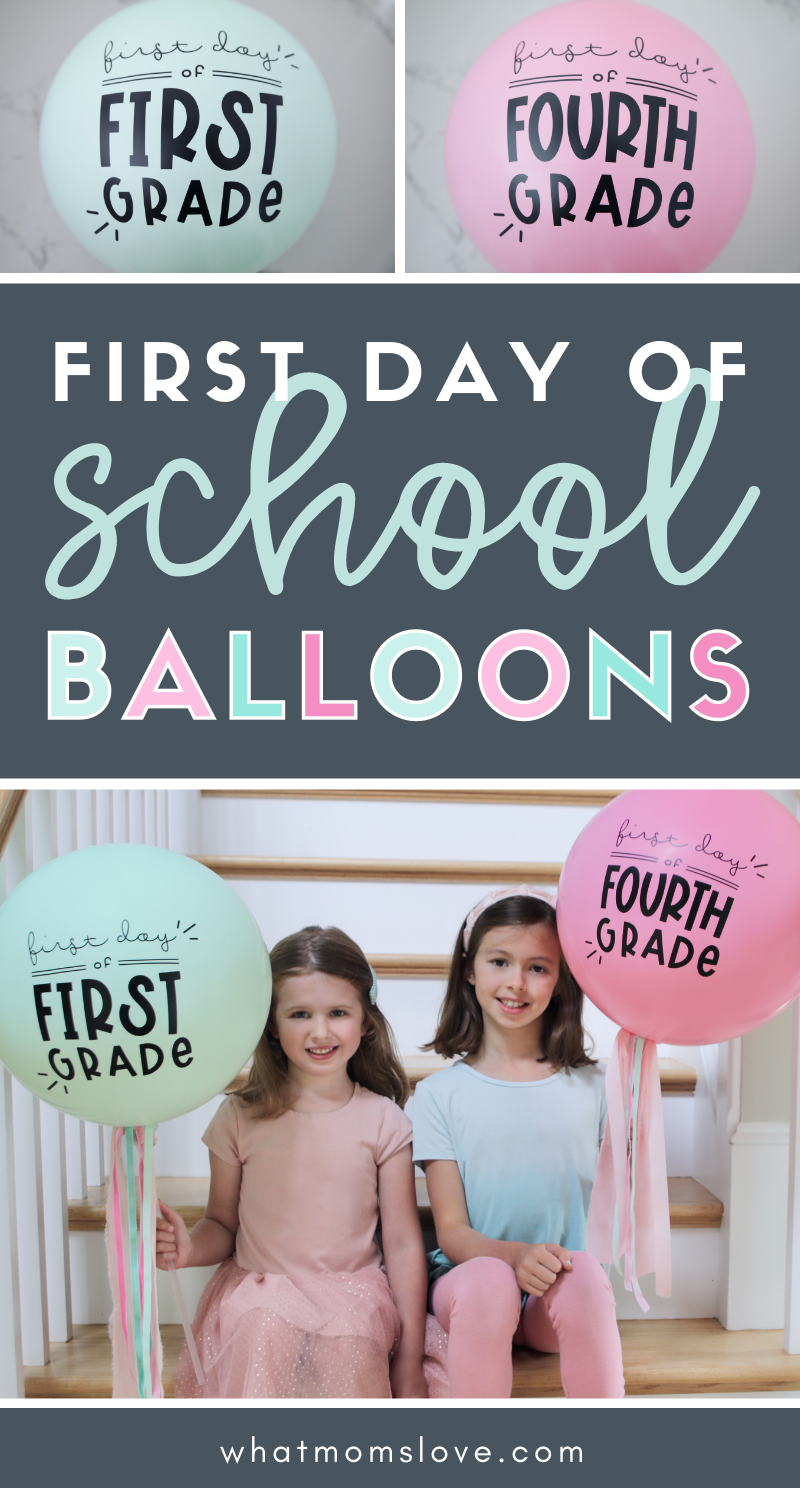
PIN for your first day of school photo shoot!
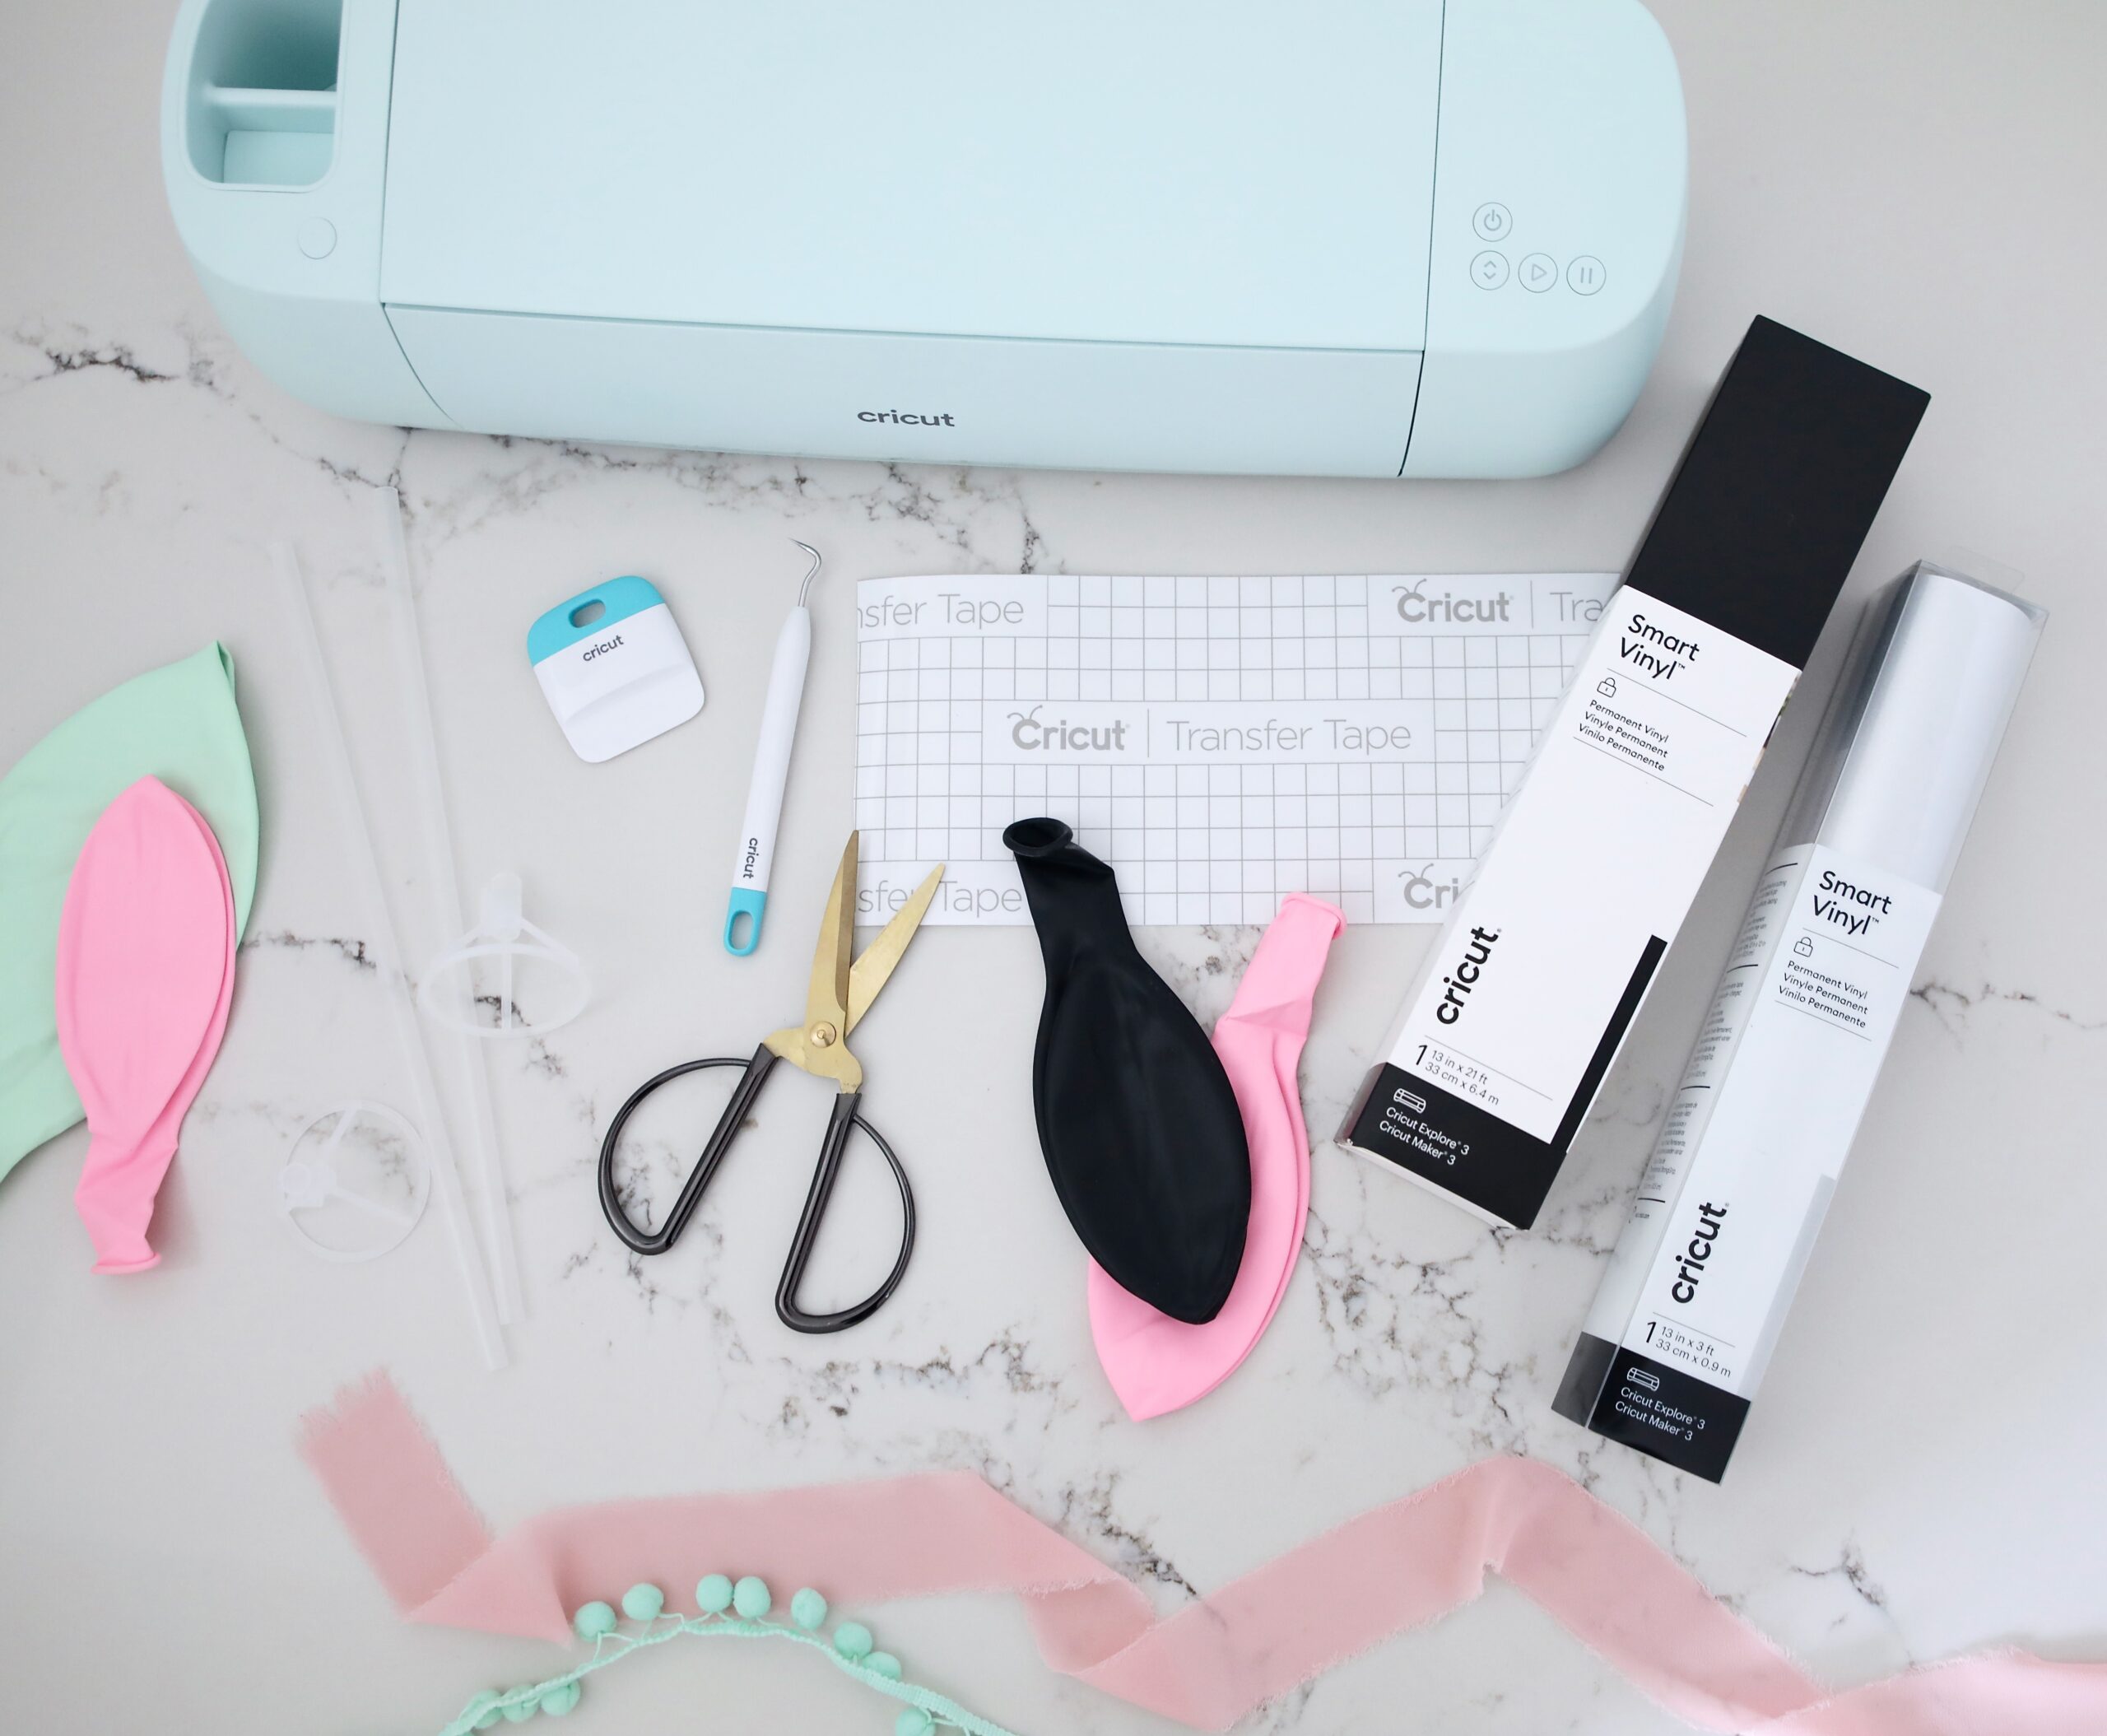
WHAT YOU’LL NEED
Supplies
- Large Round Balloons (24” size works well)
- Balloon Cup/Stick
- Cricut Explore 3 Machine
- Cricut Smart Vinyl
- Cricut Transfer Tape
- Weeding Tool & Scraper
- Scissors
Optional:
- Assorted ribbons for streamer
The Cricut Explore 3 is an amazing machine and can create with over 100 different materials – from popular craft materials like cardstock, vinyl and iron-on, to specialty materials like foil and fabric. It can make single cuts up to 12 feet, so it can handle this simple project with ease.
HOW TO MAKE A CUSTOMIZED BACK TO SCHOOL BALLOON
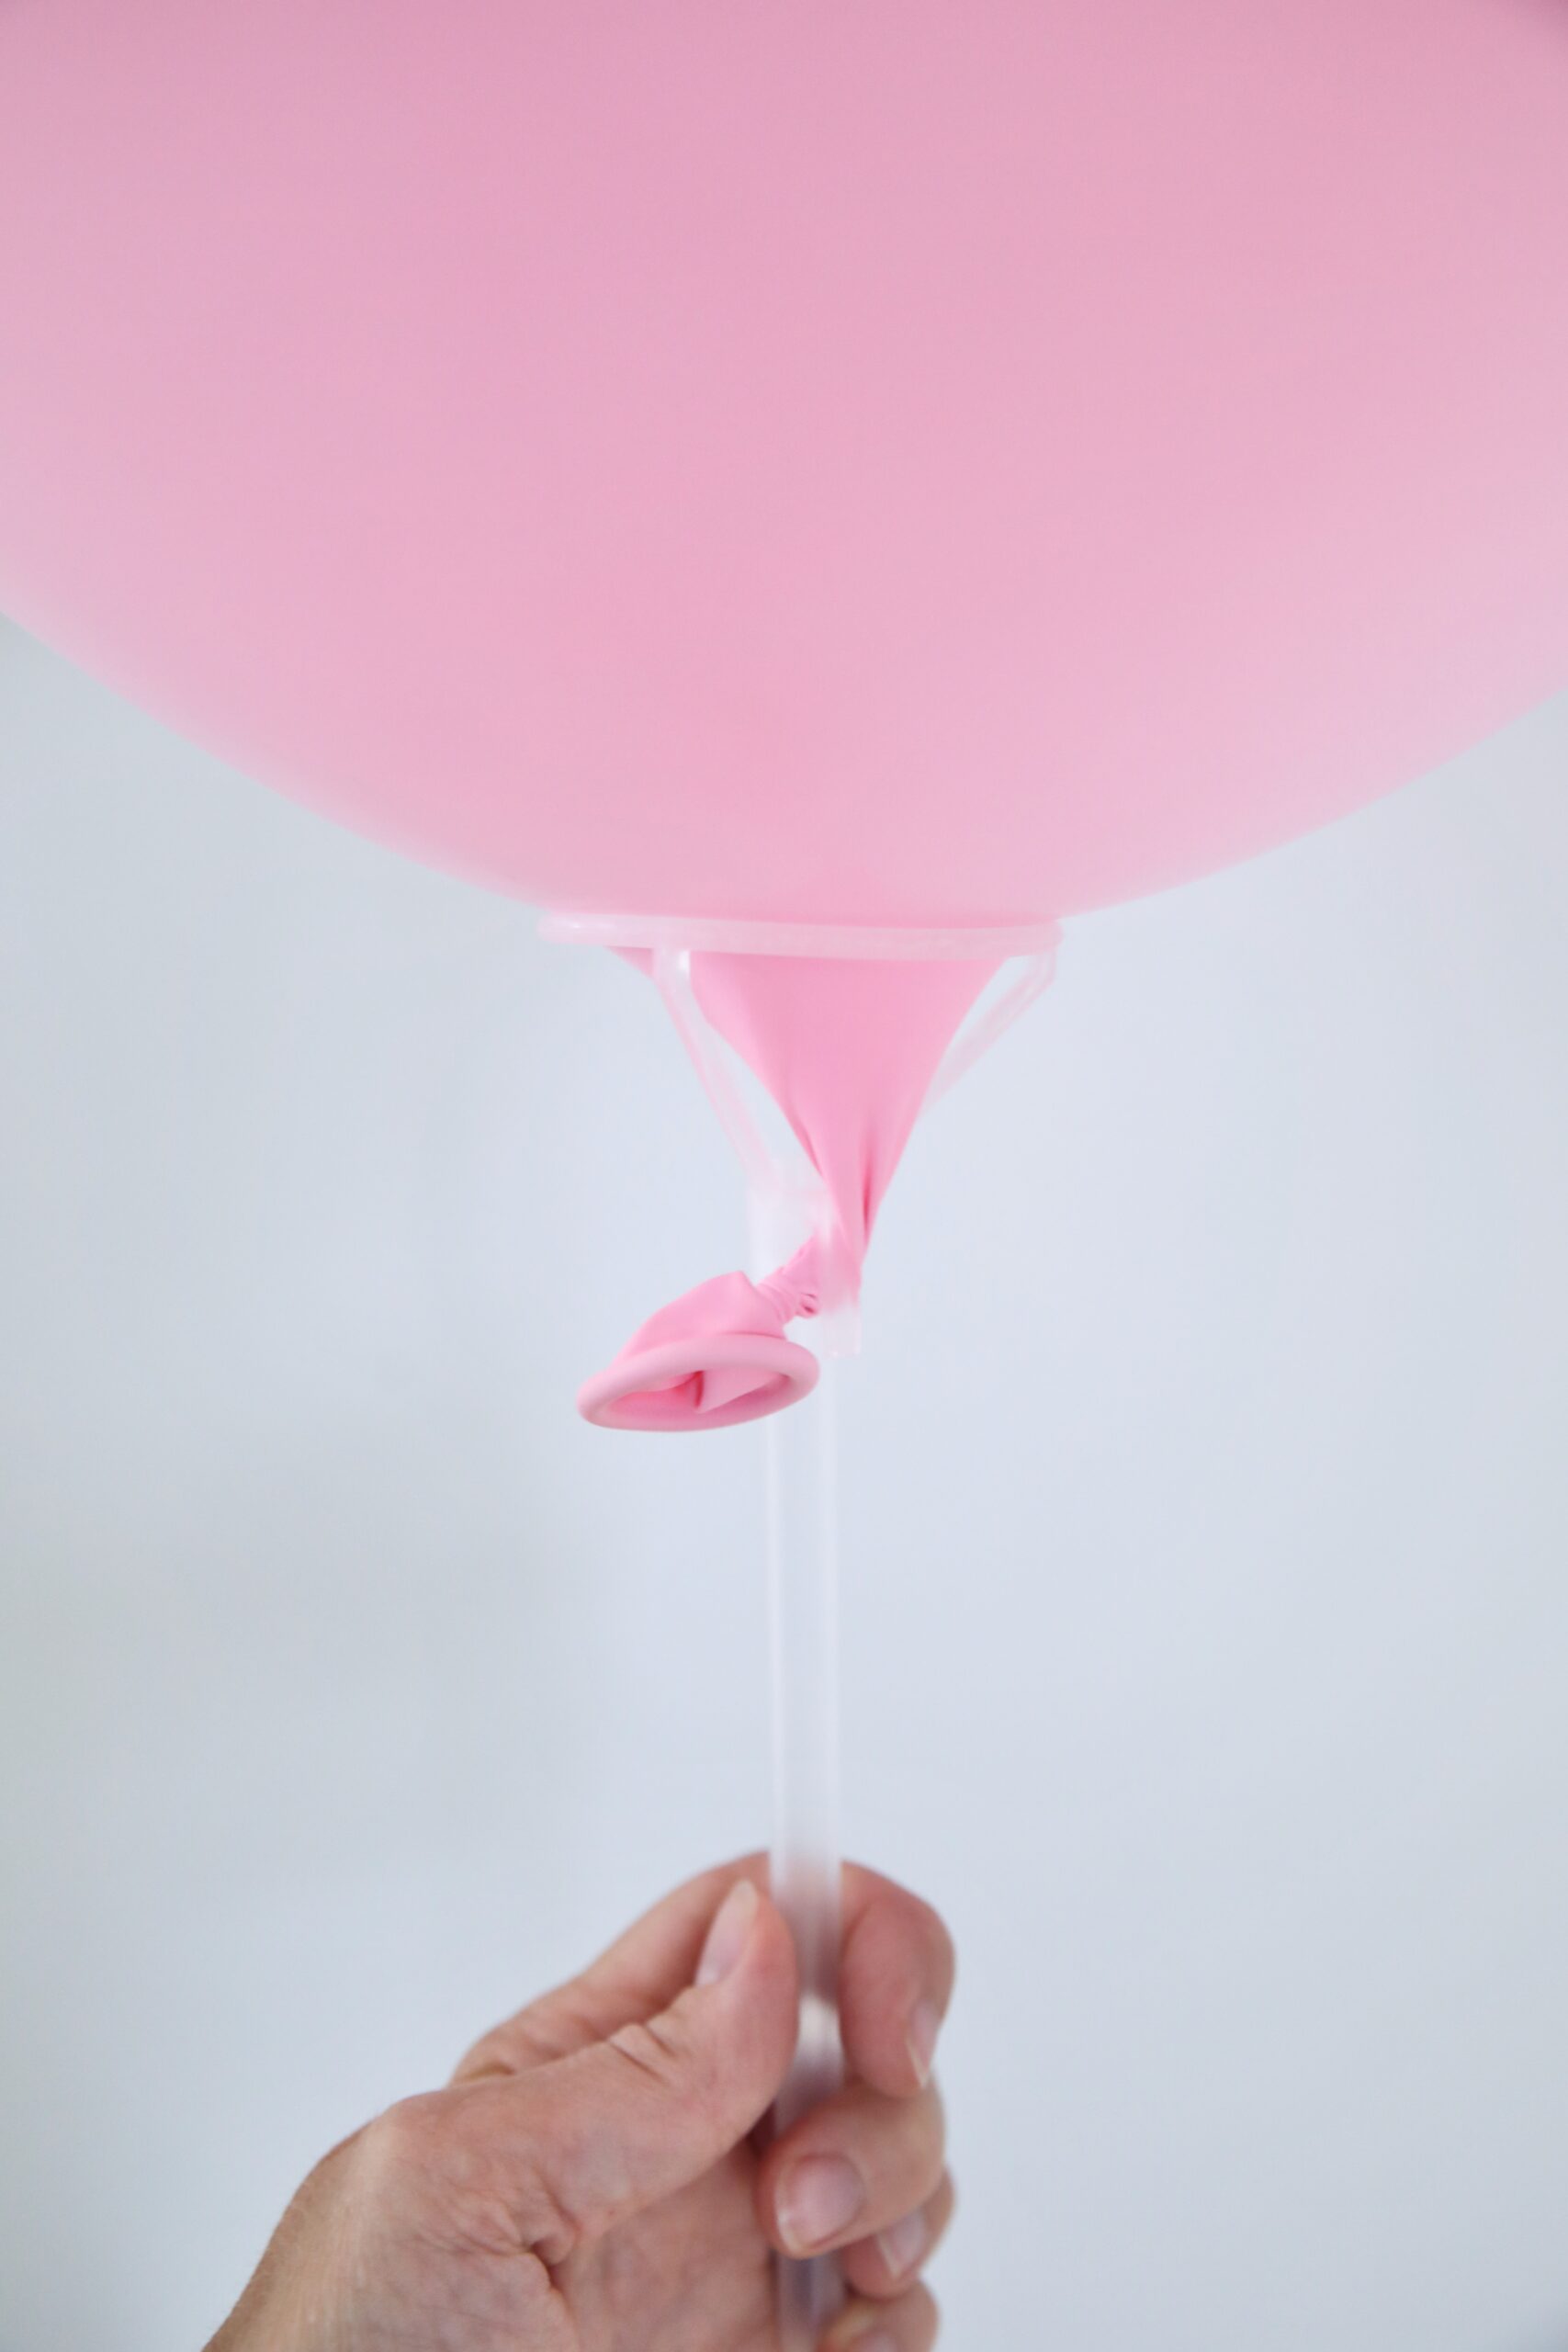
STEP 1
Blow-up your balloon to your desired size and knot the end. Slip the knot through the balloon cup and secure in the notch on the side.
STEP 2
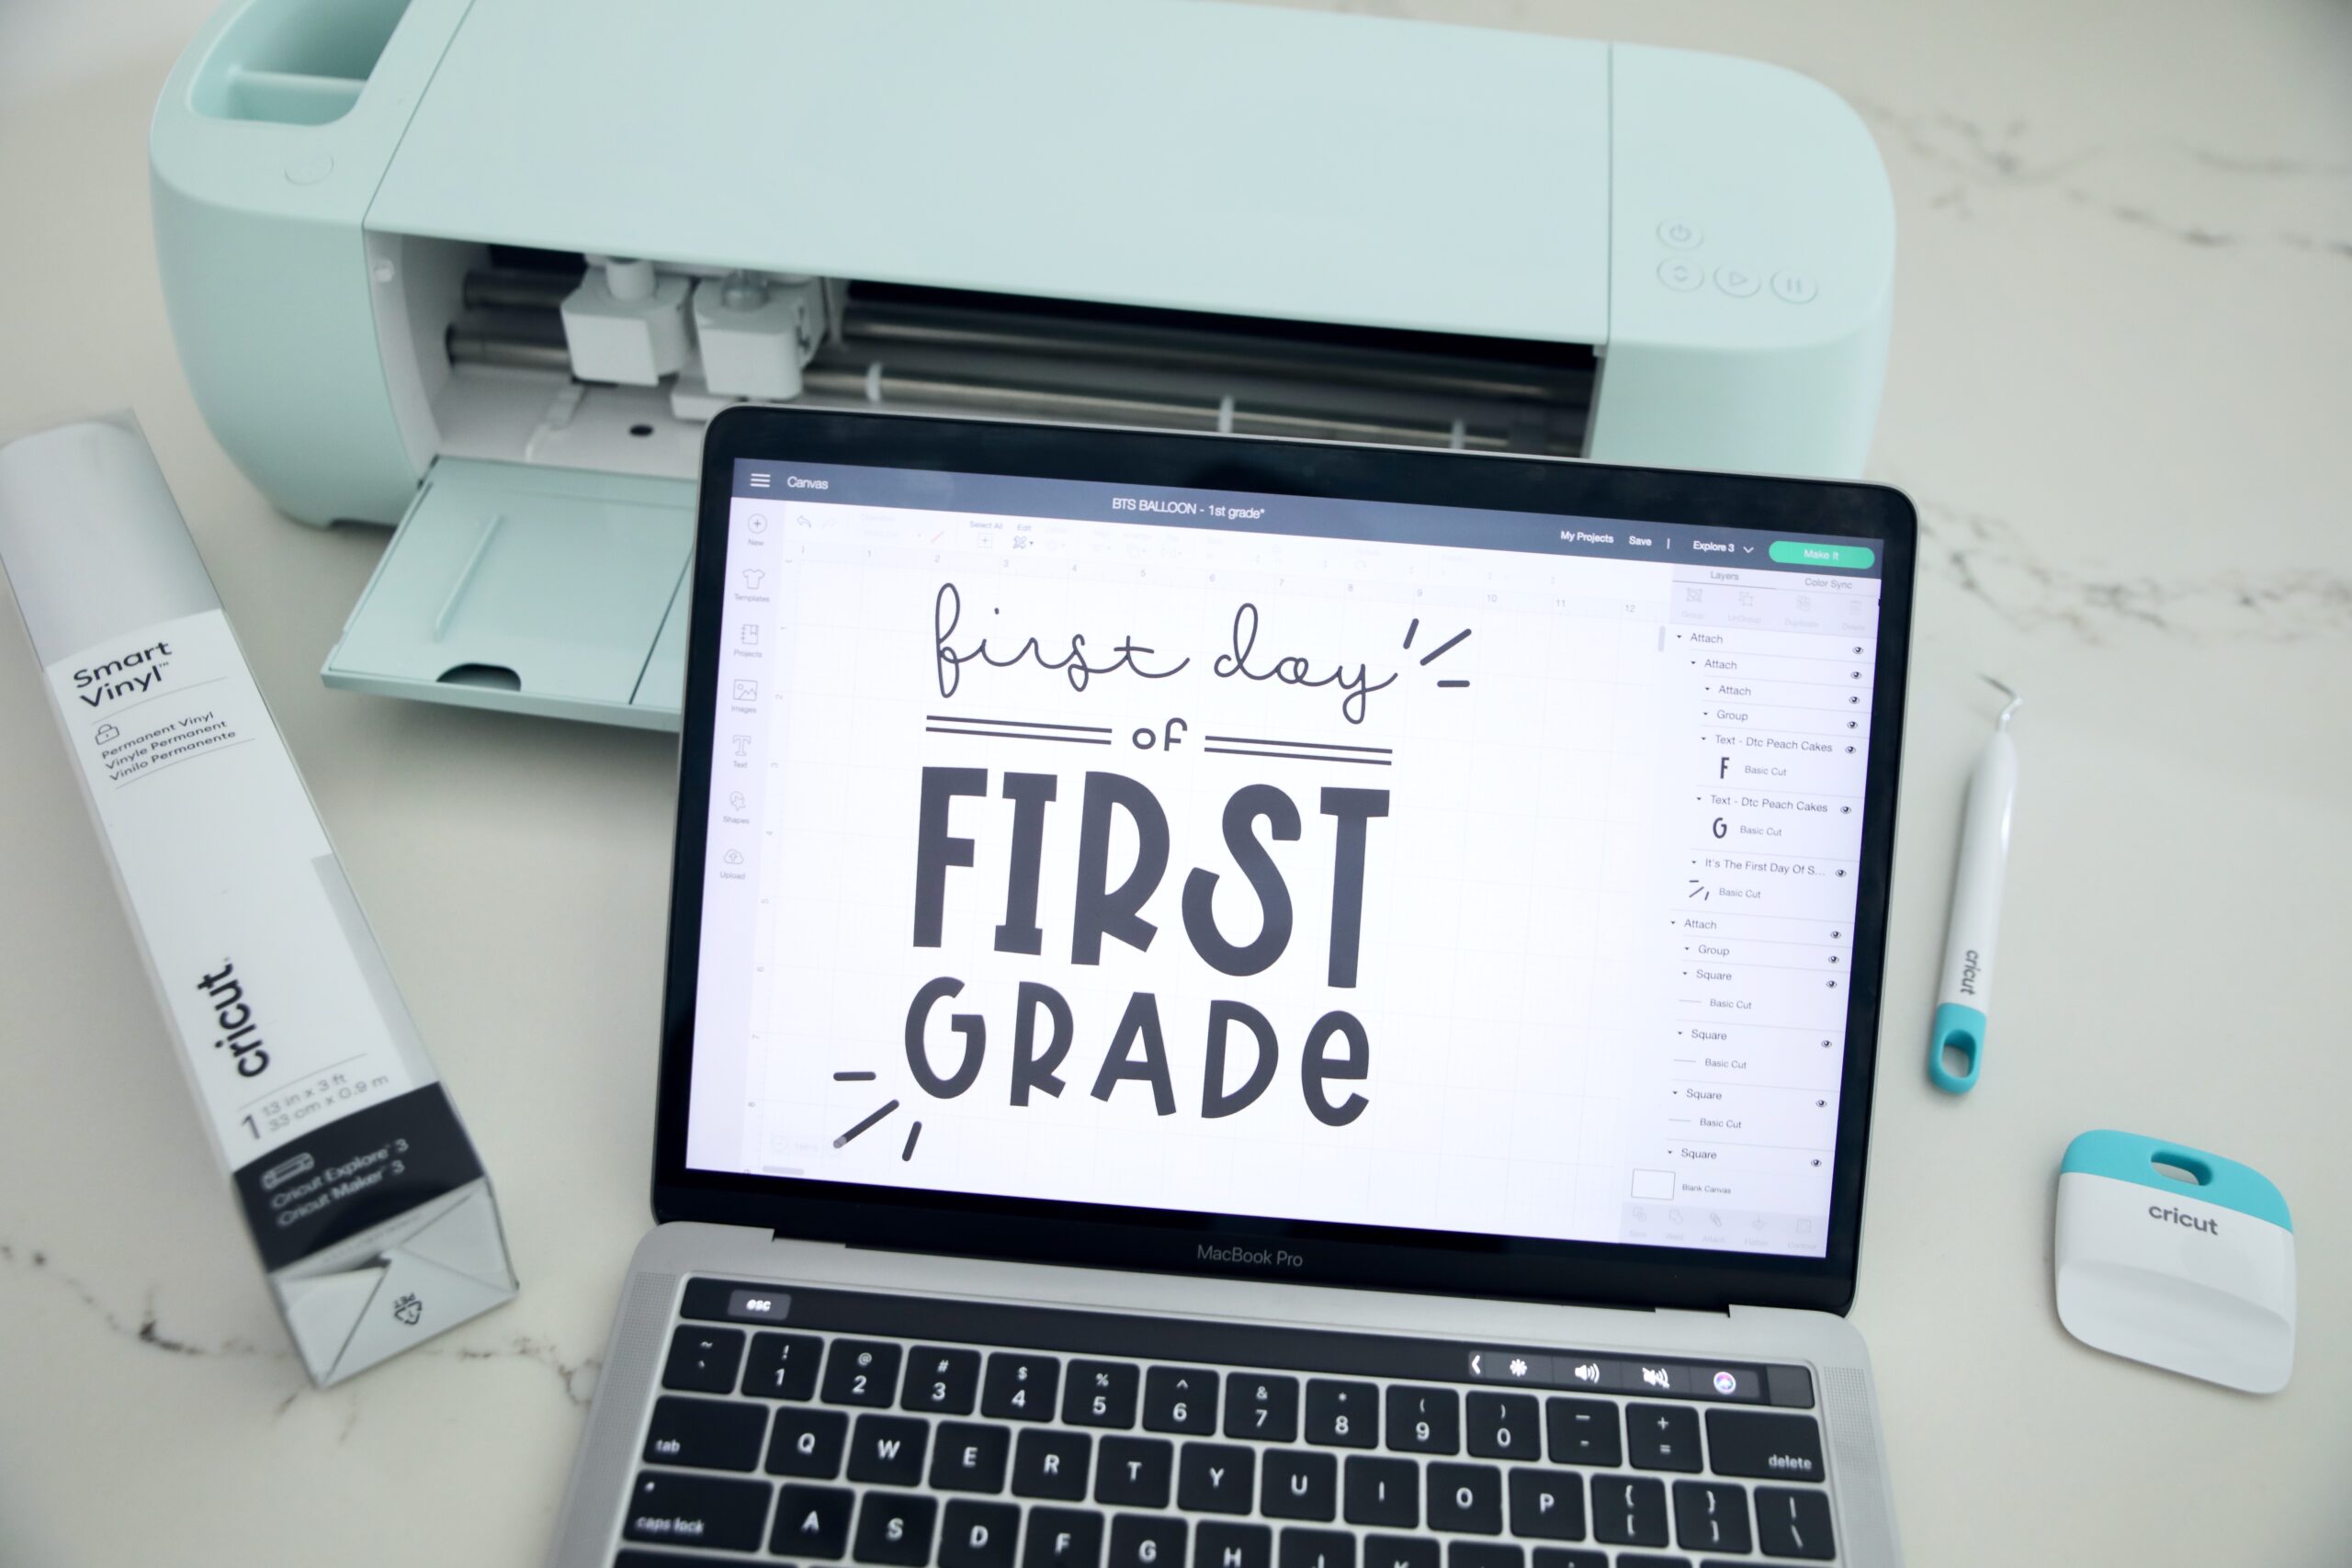
Using a ruler or measuring tape, decide on the best dimensions for your text. For our 24” round balloons, our design was 9” wide x 8” tall.
Then use Cricut Design Space to create a new canvas and use their wide array of fonts and imagery to create your design. Design Space is a free app that comes with every Cricut cutting machine that’s easy and intuitive to use. You can create your own designs with access to thousands of images, fonts, and pre-designed projects.
For our design we used “Loop-di-loo” as the script font, and “Peach Cakes” as the bold font for the grade.
STEP 3
Load your Cricut machine with your desired color of Smart Vinyl (we used Permanent, but Removeable would also work) and watch in awe as it quickly cuts your design.

STEP 4
Cut a piece of Cricut Transfer Tape to fit over your design, and remove the backing. Stick the transfer tape over the design and use the scraper to firmly adhere.
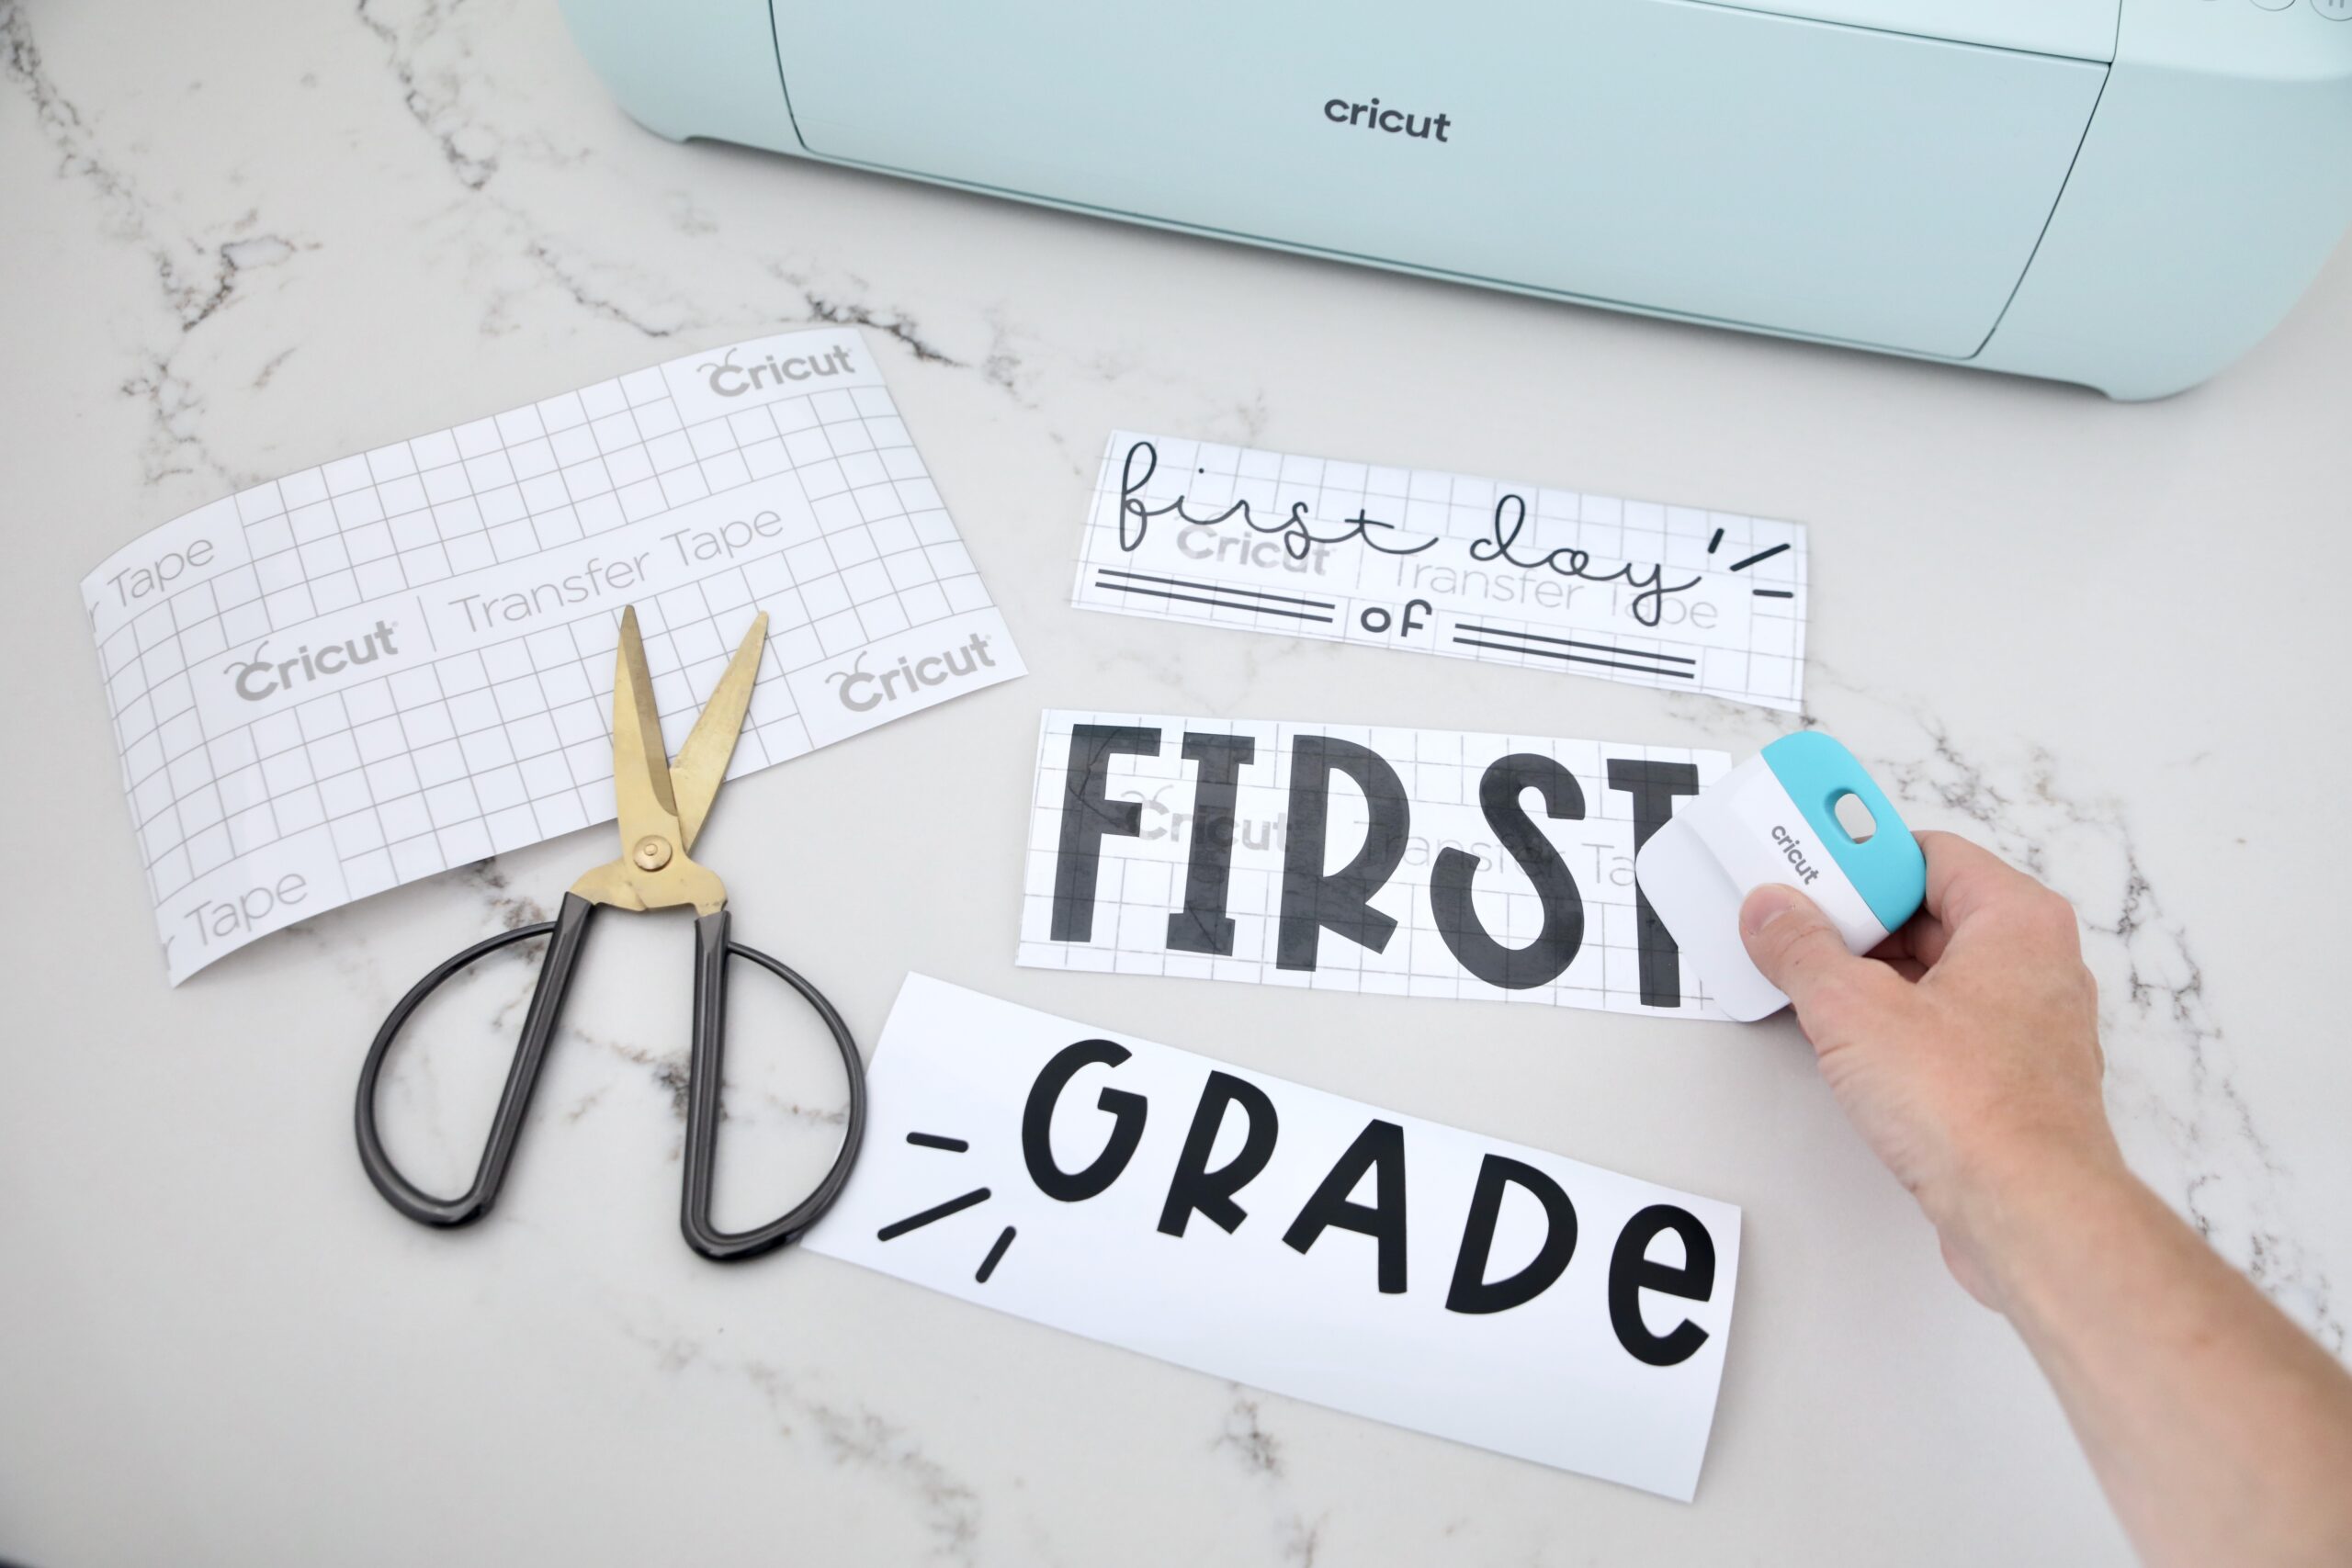
Remove the tape (with the design now on it) and place onto your balloon in the desired position.
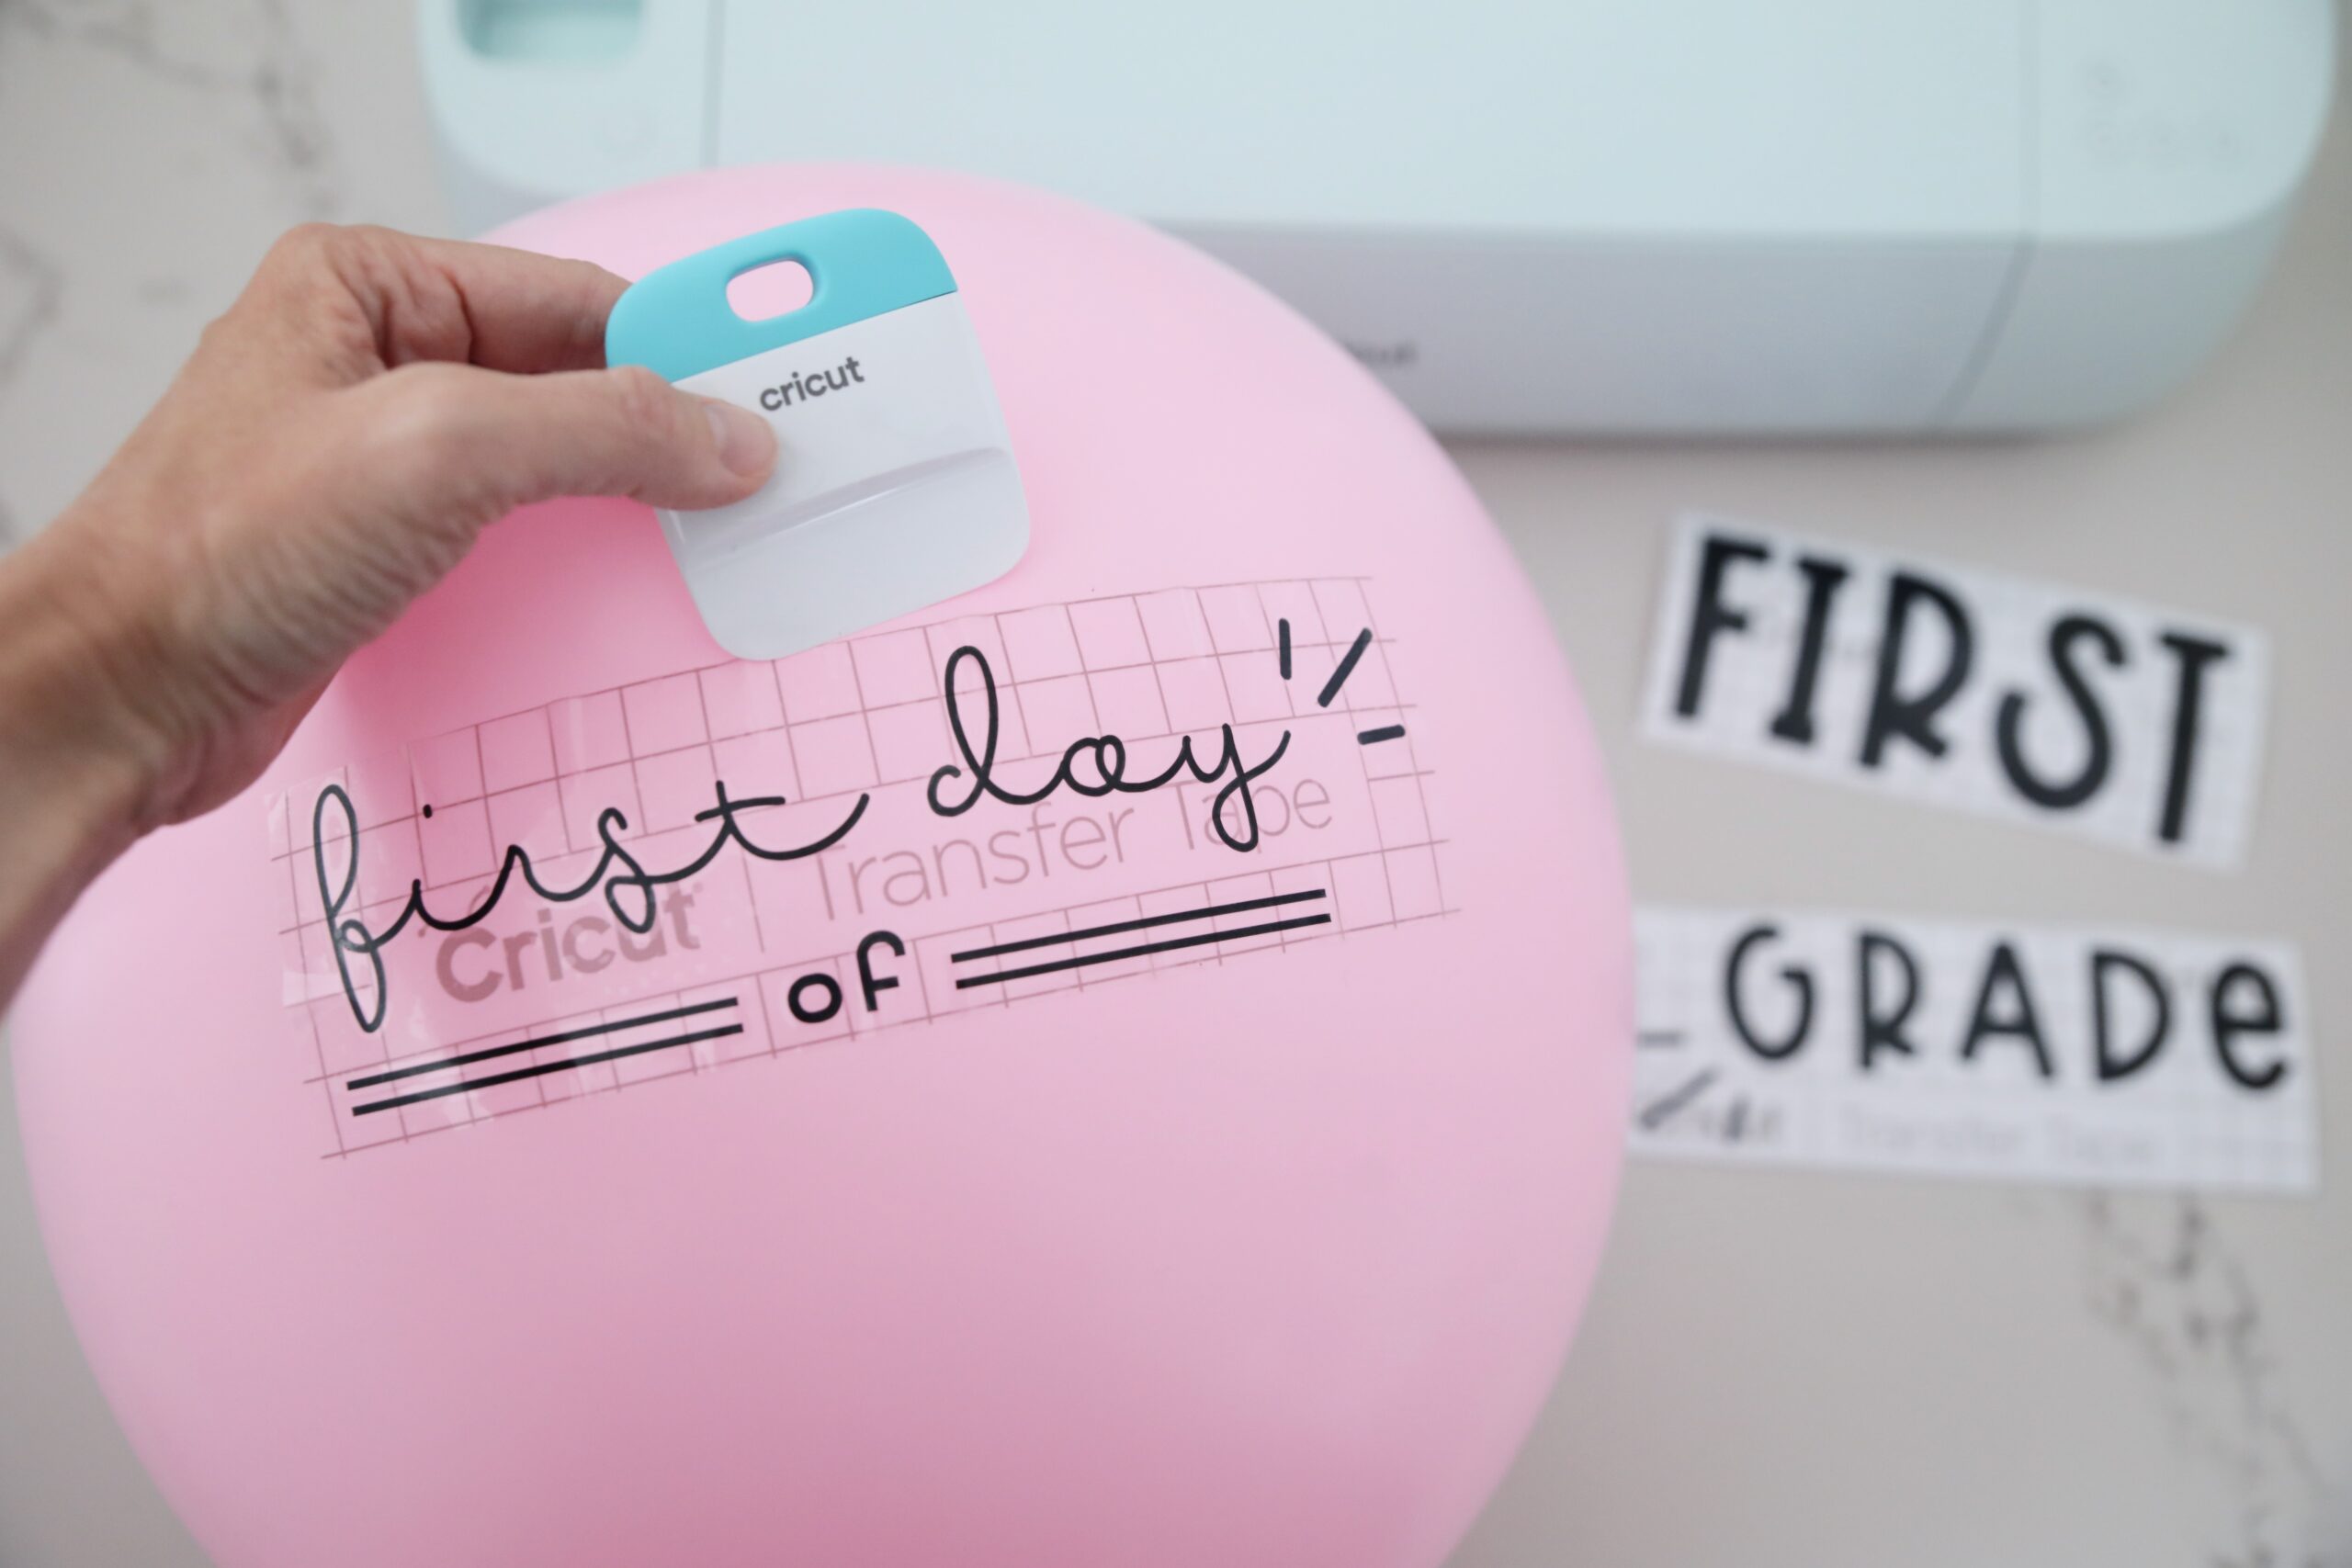
Separate your design into 2 or 3 parts as it is easier to apply in smaller sections.
Use the scraping tool to gently press on the tape so the design adheres to the balloon.
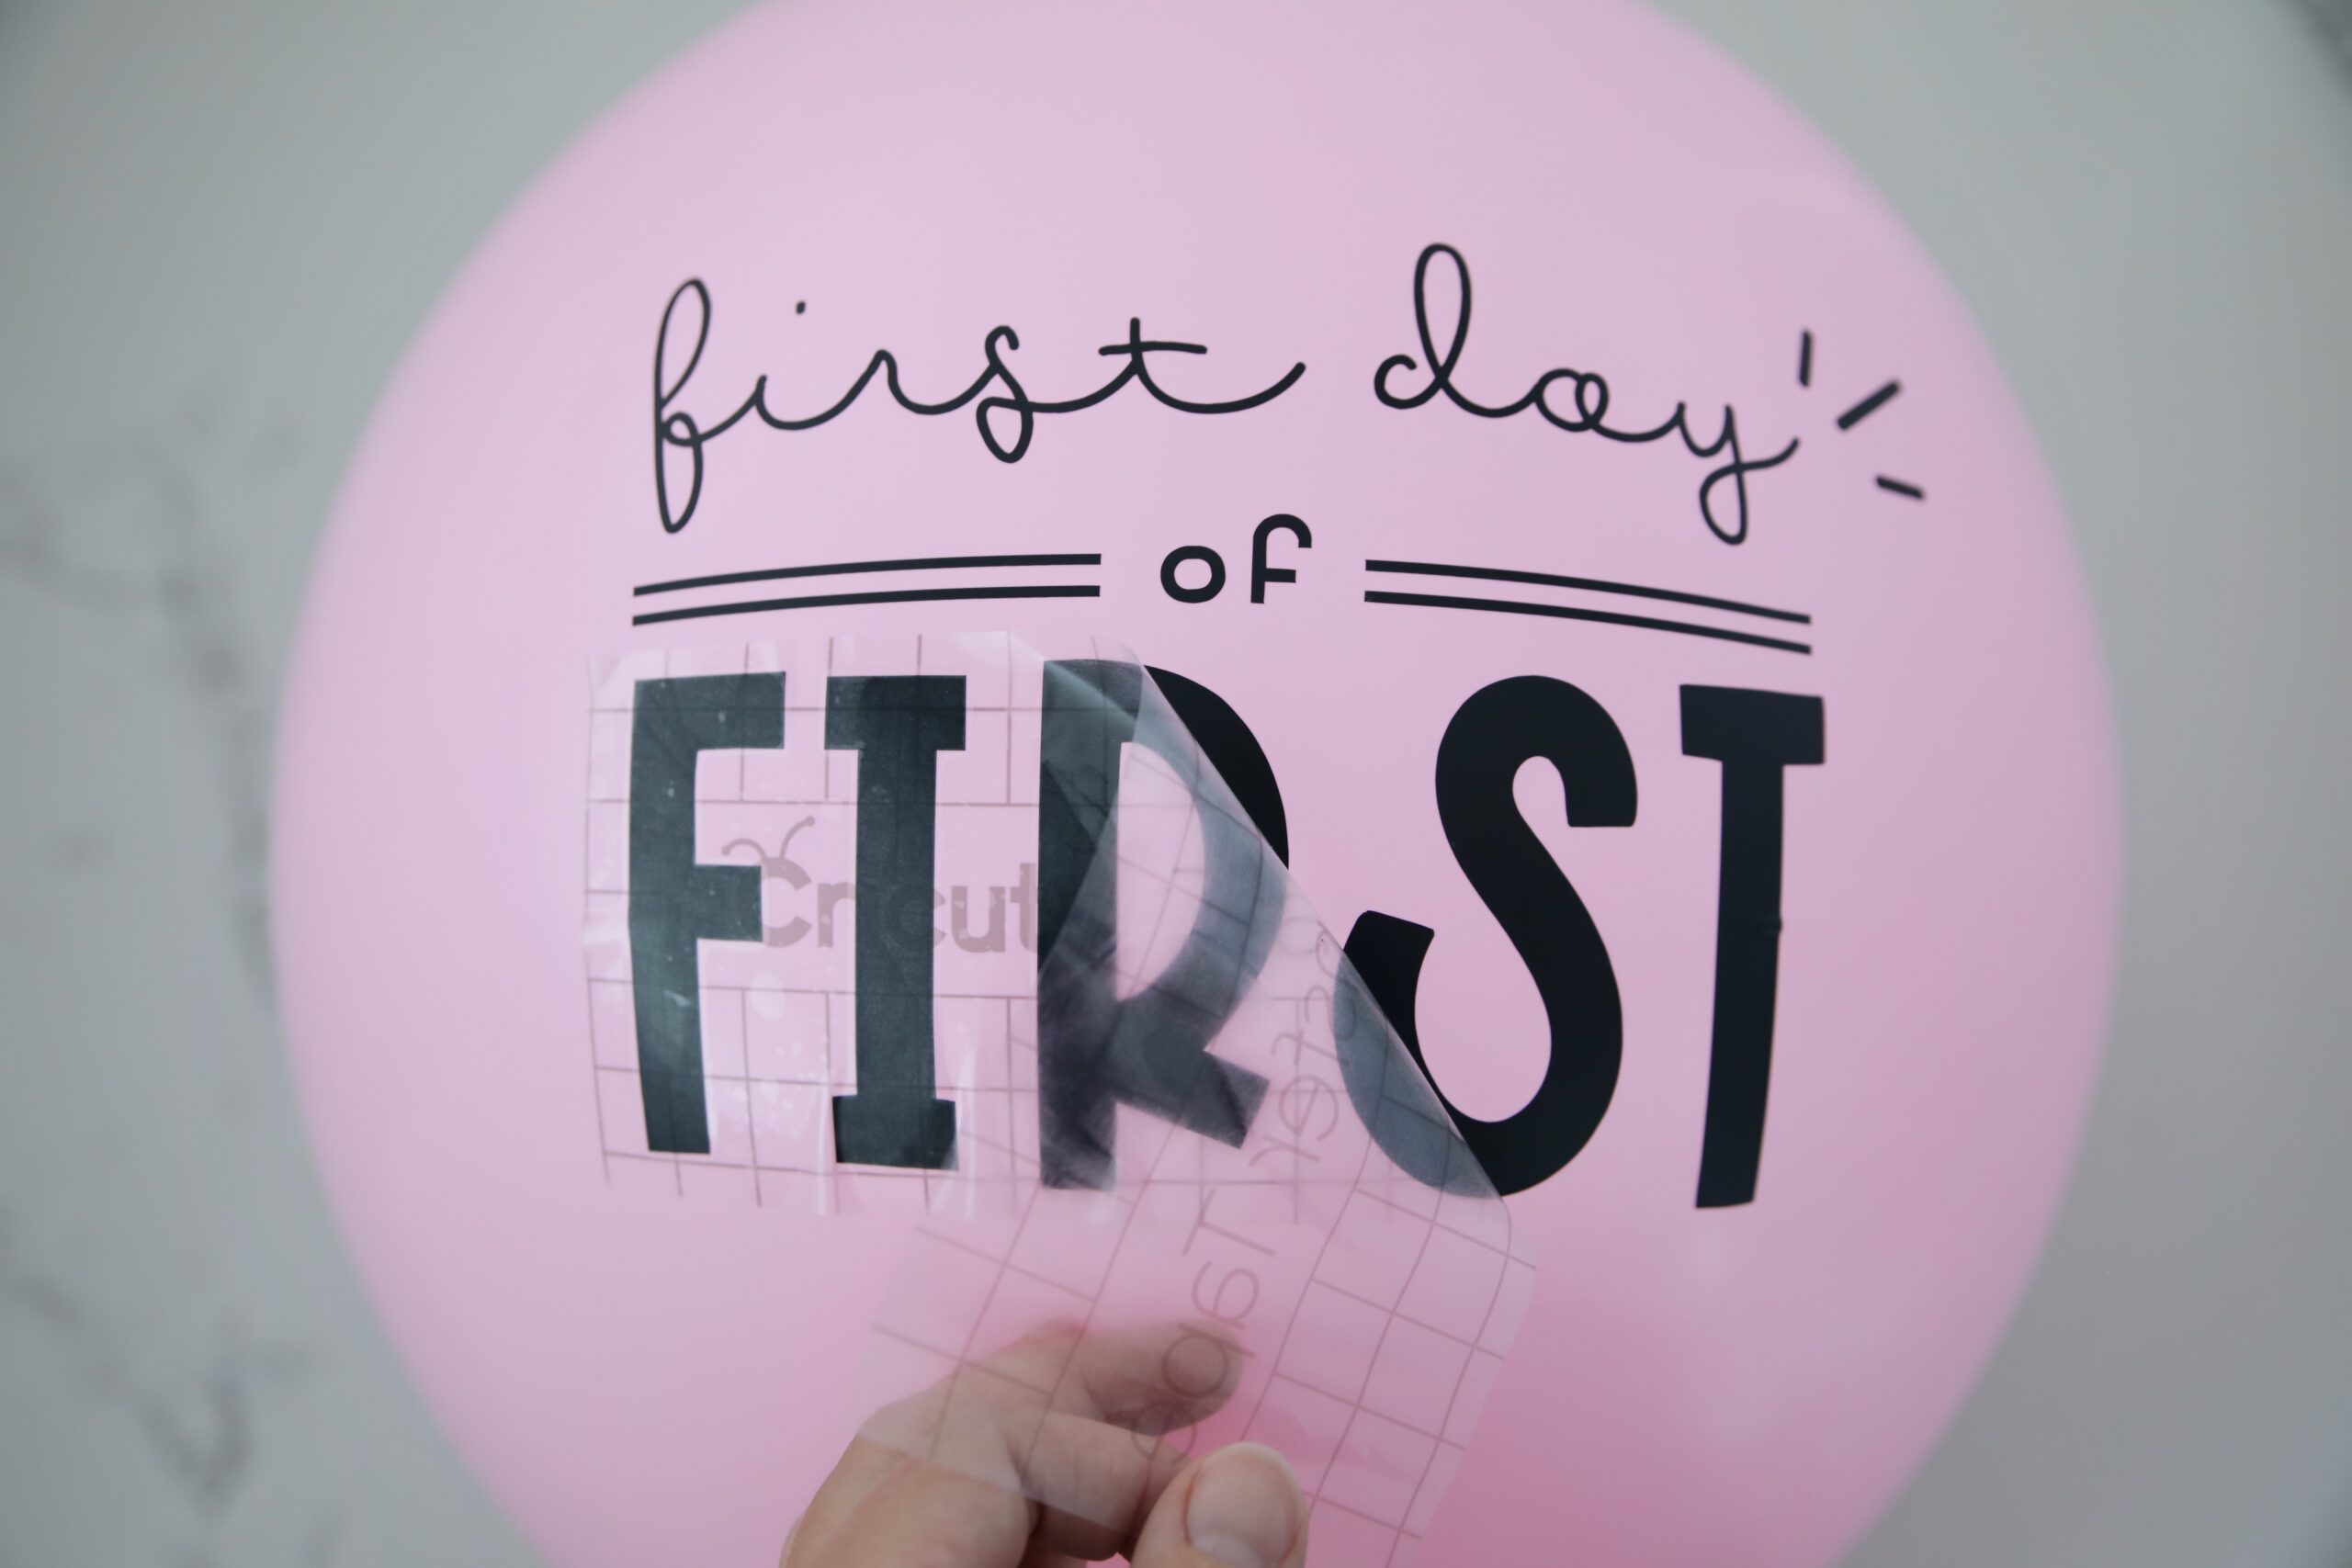
Slowly pull off the transfer tape and voila!
STEP 5
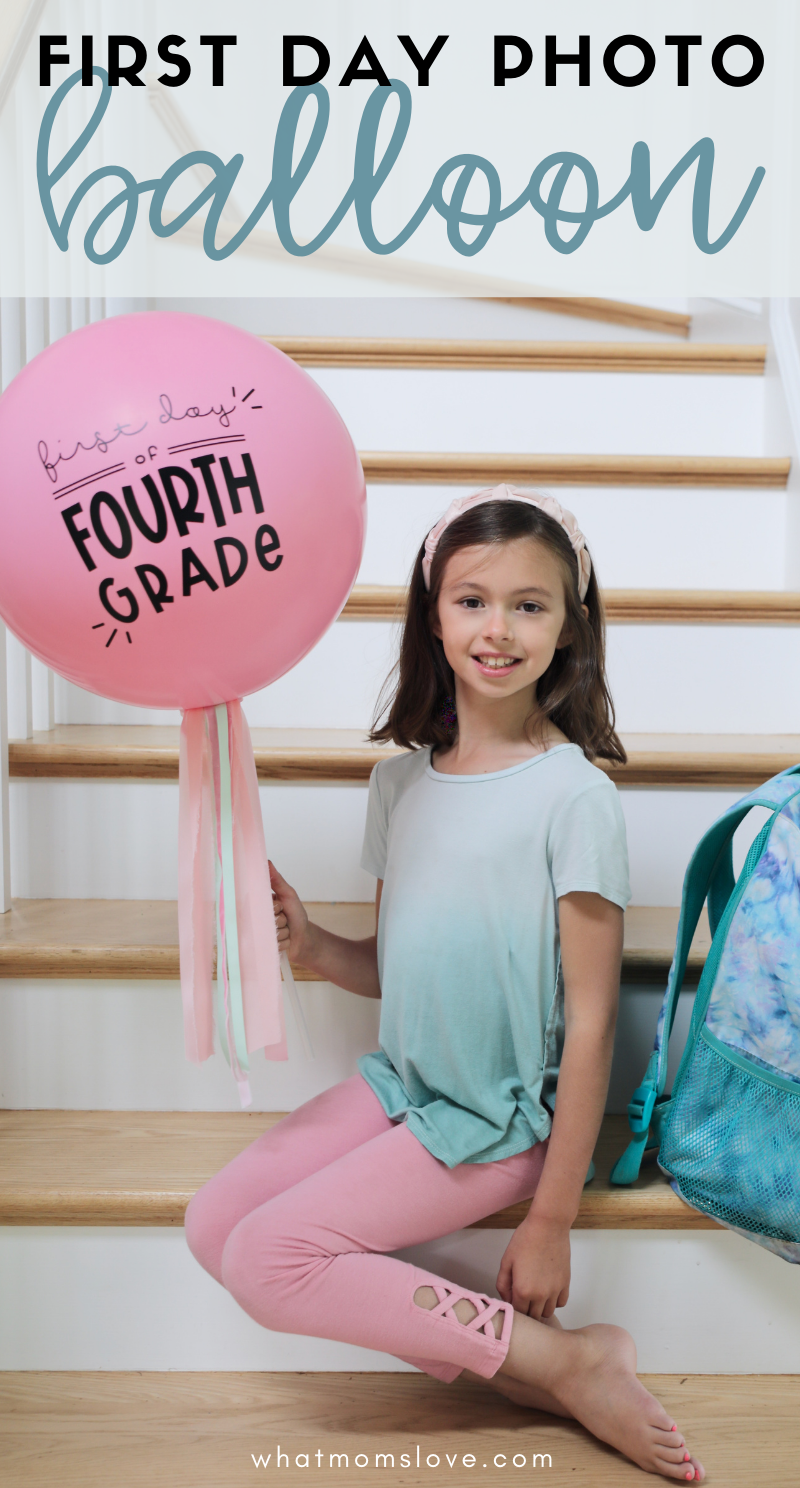
Attach the stick to the balloon cup and add some pretty ribbon to finalize your back-to-school balloon!
STEP 6
Hand over the customized balloons to your children and snap those first day of school pictures!
If you like this idea, pin it!
Create these balloons for the last day of school as well, so you can compare your child’s growth!


Absolutely love this idea! I have a feeling I’ll be making my own balloon decor from here on out lol