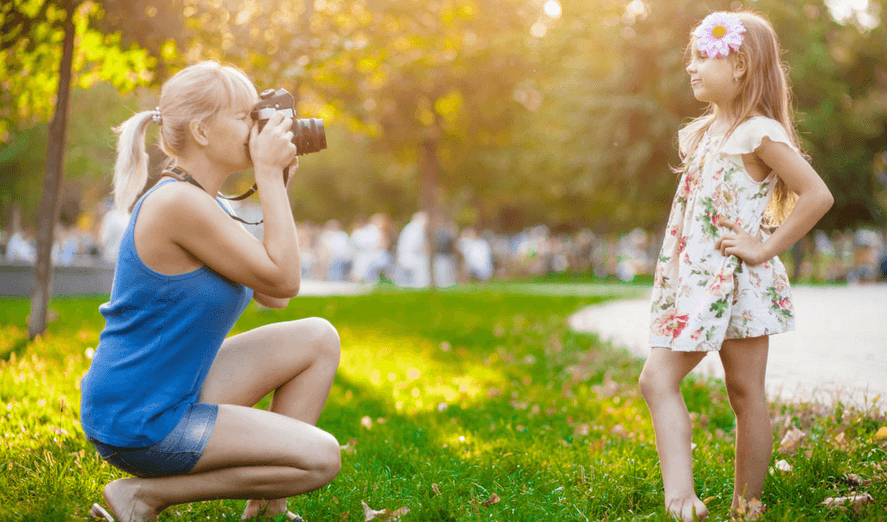

Ever paid for a professional to take photos of your kids? Perhaps a newborn photo shoot, or a few headshots for your holiday cards? (yep, we’ll even count those ones from Sears). Well, we’re here to put an end to that mamas, because we’re about to turn you into a fancy pants photographer with just a few, easy-to-understand steps. So grab your cameras and let’s get started!
Note: this post includes affiliate links. For more info see our disclosure policy.

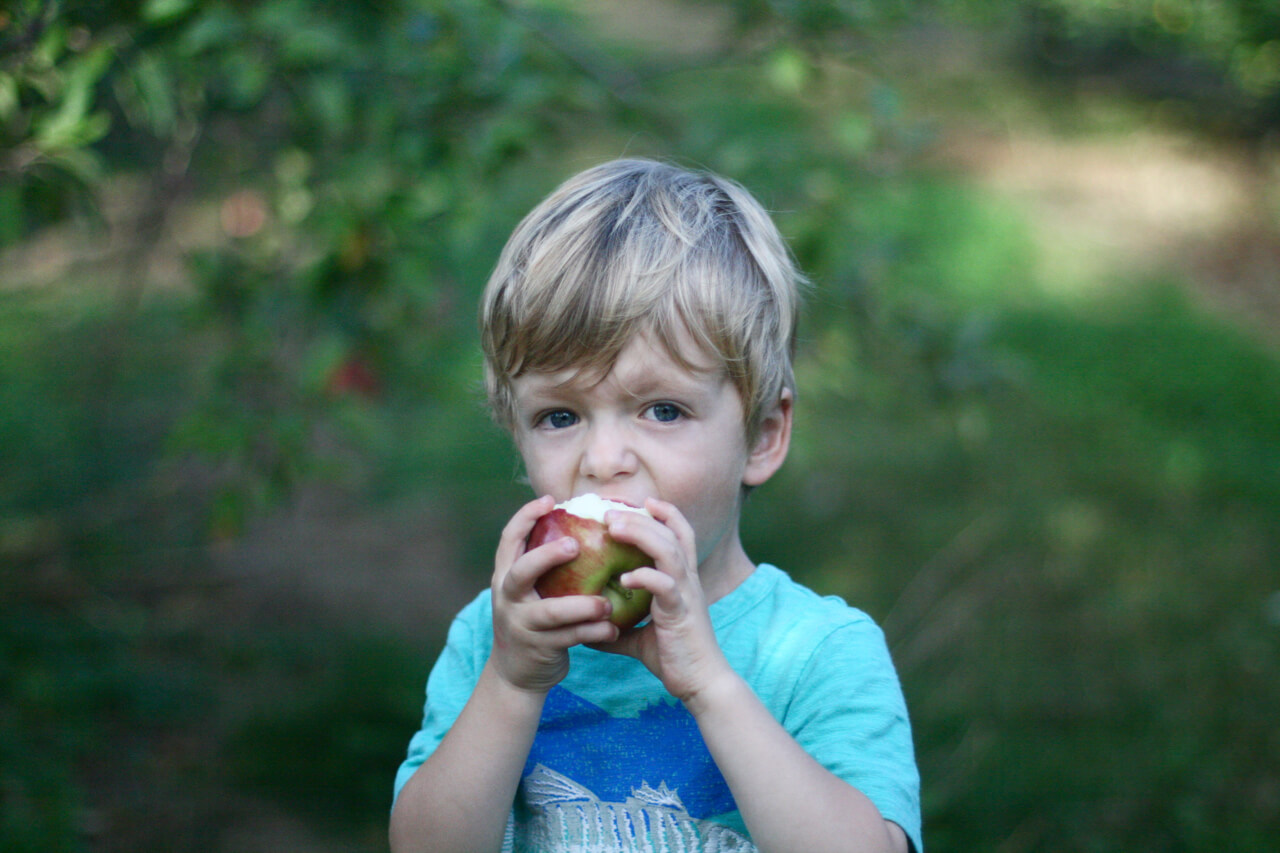
See the beautiful blurry background in the photo above? You want it, right?
It makes the subject (in this case your adorable child) super crisp and pop right off the page, while turning any clutter in the background into a soft buttery blur. It turns your so-so amateur-looking photo into a yaw-dropping professional wonder. It turns your disaster zone of a house into a gorgeous watercolor backdrop. And, it turns all your friends into total groupies (prepare yourself – they will ask you to take photos of their kids…which you’ll happily oblige now you’re a rock star photographer!).
We’re telling you, it is the secret ingredient to amazing photos of your kids.
But let’s cut to the chase, how the heck do you get that blurry background?
It’s all about 4 easy steps which we’ll explain without any fancy-schmancy photography term dropping. Seriously. You won’t find an aperture, depth of field or focal length anywhere here. Just simple terms we can all understand. Phew.
Note: While these steps work best with a DSLR camera like our favs the Canon EOS Rebel T6, Canon EOS 70D, or the Nikon D7100, if you only have a point-and-shoot camera, you can still utilize most of these tips to significantly improve your pics!
And pssst – we have a special bonus for you at the end that will teach you how to get a blurry background AFTER you’ve taken a photo! Don’t miss it!
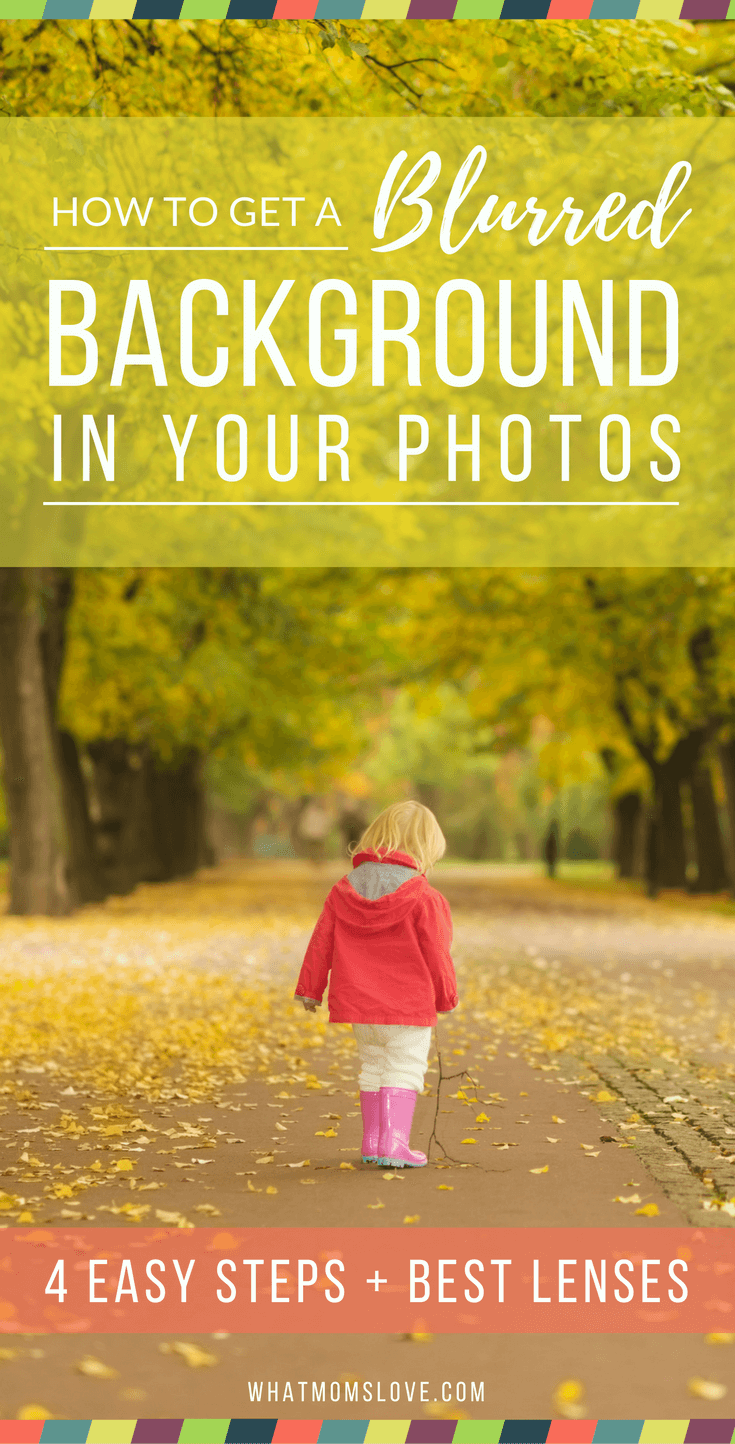
4 STEPS TO BLURRED BACKGROUND GLORY
STEP 1. PLACE YOUR CHILD AWAY FROM THE BACKGROUND
This seems kinda like a no-brainer, but if you consciously think about it next time you’re taking your photos, it’s something that can make a big difference. No matter what equipment you have, if your little one is leaning up against a wall, there is no chance you’re getting the buttery spread in the back. Just ain’t gonna happen. So do your best to position your child at least a few feet in front of the background. The further they are away from it, the more blur you will get (whether you’re shooting a DSLR or not).
STEP 2. TURN YOUR CAMERA OFF AUTO
We know this can be tough, but take a deep breath and turn your camera off of Automatic mode. Exhale. Now click the dial over to AV (Canon) or A (Nikon). If you don’t have these modes, try looking for a SCENE selector where you can choose “Portrait”. There, you did it!
STEP 3. LOWER YOUR F-STOP
Huh, the f-what?! Well, luckily for you my friends, you don’t really need to understand this term, you just need to know that this is the magic number. The lower your f-stop, the blurrier your background will be. So f/22 will result in both your subject and the background in-focus, whereas f/1.4 will give you that coveted blur you’ve been dreaming of.
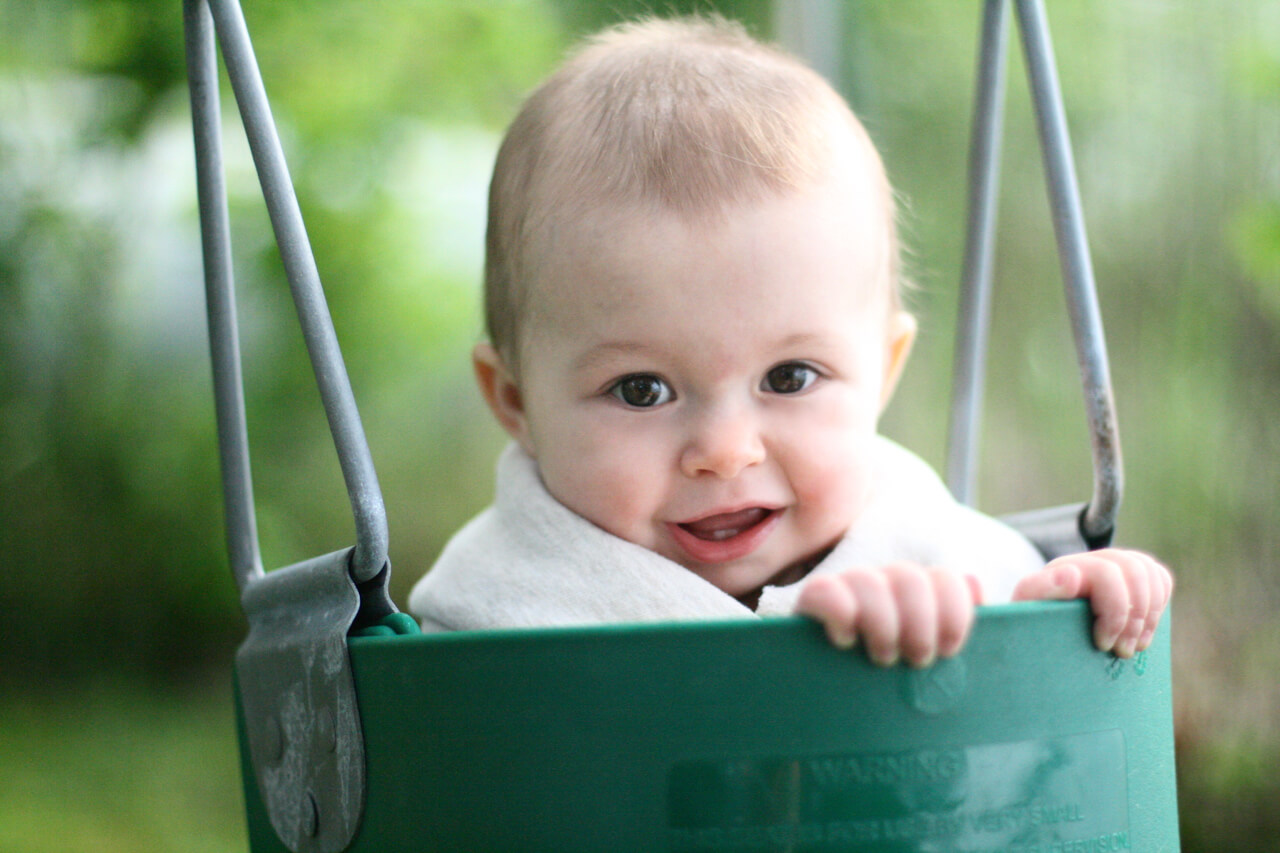
See the pictures below, the one on the left was shot at f/18 and the one on the right at f/1.4. The difference is mind-blowing!
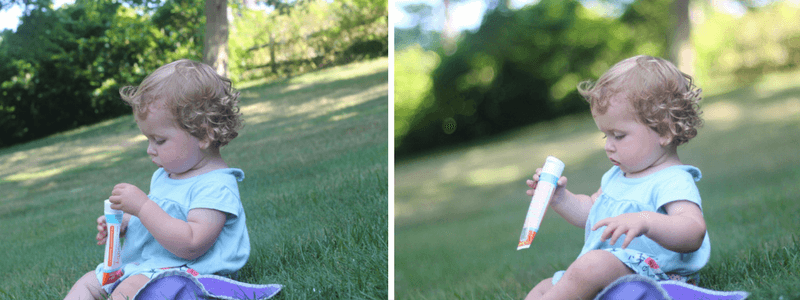
Now the type of lens you have will ultimately determine how low your f-stop can go. The kit lens that comes with most DSLRs usually bottoms out around f/5.6, which can still offer you some good blur if you follow the other tips (positioning your child far away from the background, and the camera close to your child). However, if you want an even better effect like the one you see in the photos here, we suggest upgrading your lens (we’ve recommended a few of our favorites below…one which is only $125, score!)
STEP 4. POSITION YOURSELF AS CLOSE AS POSSIBLE TO YOUR CHILD OR ZOOM-IN
You want to get as close to your child with your camera as you can. The closer you are, the more blur you will get. However, if you have a zoom lens, this changes a little because you can be further away while zooming in…this will create even more blur. And we wants da blur!
TO RECAP ALL THIS BLUR-INDUCED FABULOUSITY
You want to turn your camera off Auto and onto AV or A mode. Then lower the f-stop. Position your child away from the background, and the camera close to them (or if you have a zoom lens, zoom-in as much as you can without sacrificing picture quality). And that’s it! Easy peasy right?!
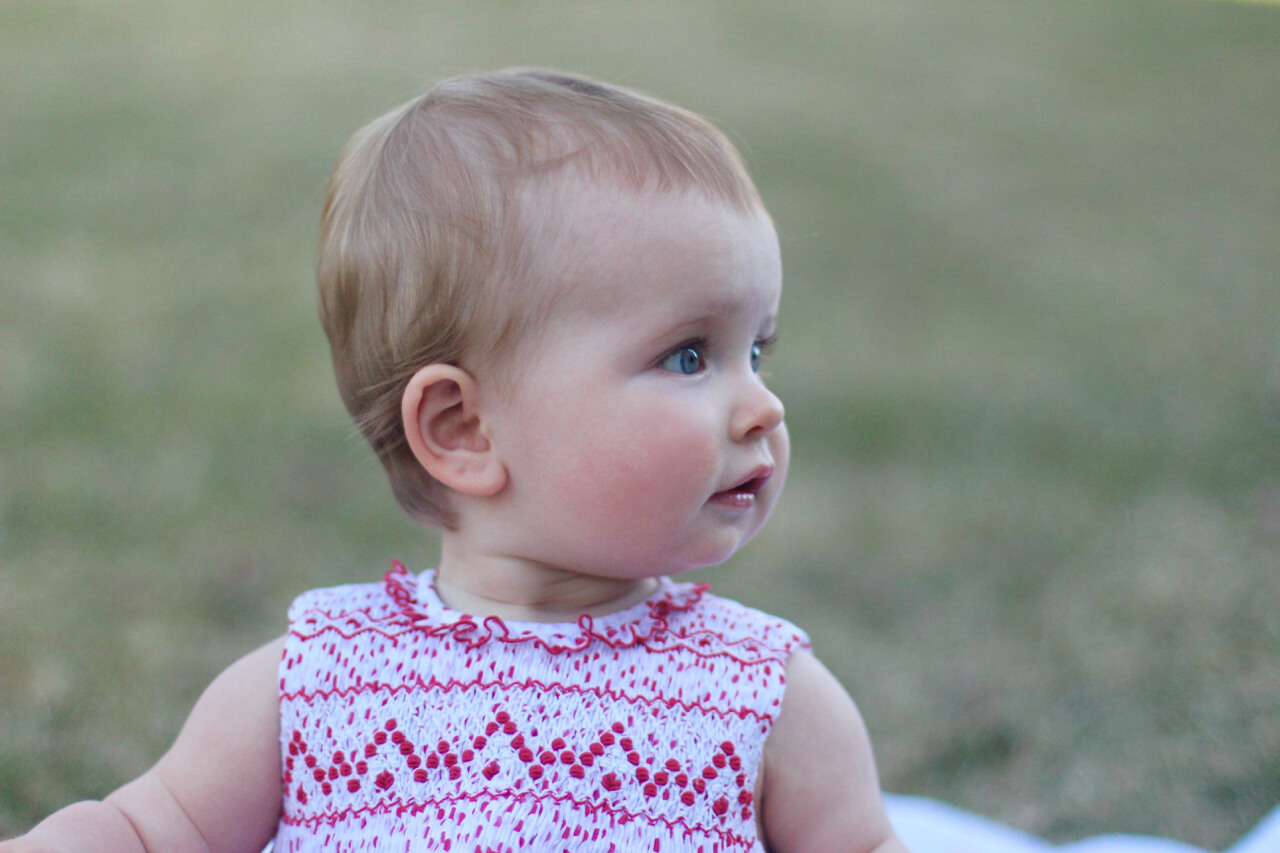
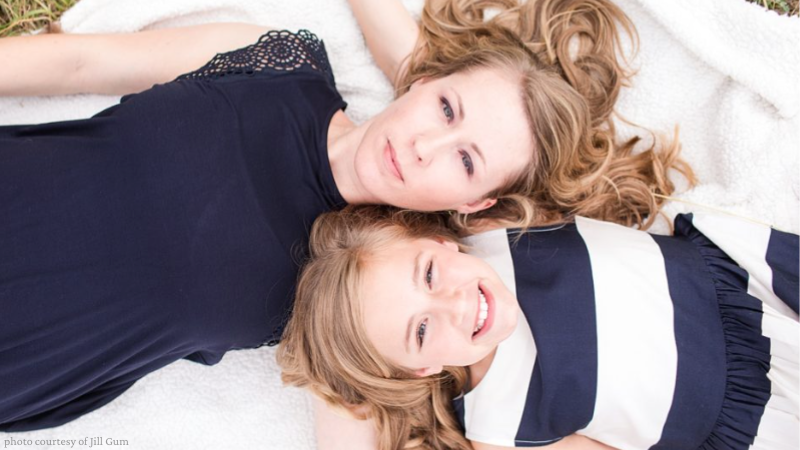
In no time you’ll be getting gorgeous shots like these:
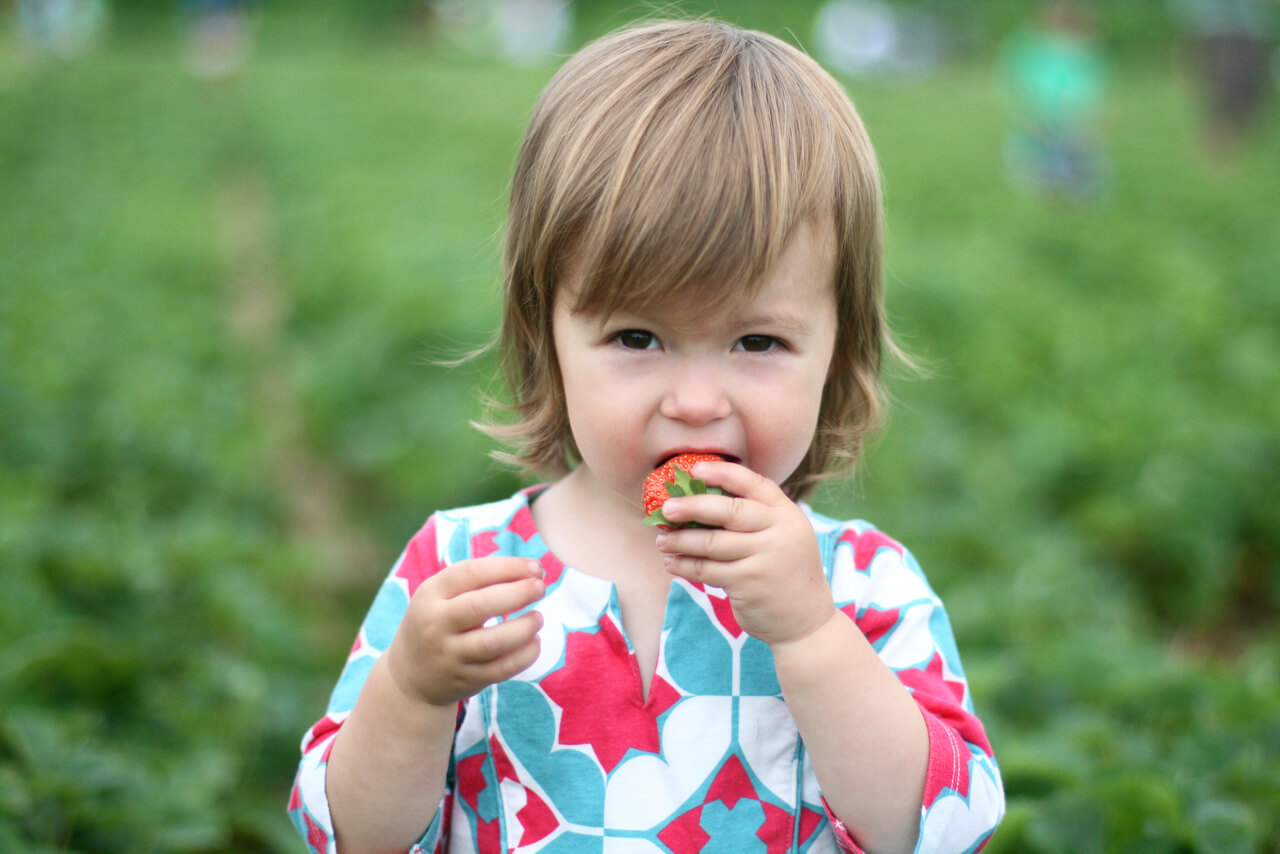
Can you believe there are people in the background of this picture?! Doesn’t even matter with your beautifully blurred background, your child is the star of every photo.

Ever wonder how to get those magical holiday lights in the background? You can easily get this affect with these tips!

The background seems to dance with color!
OUR RECOMMENDED GO-TO LENSES FOR ANY PARENT
As we mentioned earlier, you want that magical low f-stop number, but the only way to change how low you can go, is to invest in a quality lens. But if you’ve ever tried to research DSLR camera lenses, you’ll understand that it is totally overwhelming. There’s all these crazy mm numbers with fs and ISOs that will make your head spin.
But ‘cause we’re almost besties at this point, we’re here to help you out and have listed our go-to lenses for parents (a.k.a. for taking pictures of your kids. Because we’re certainly not taking pictures of each other anymore). Our recos come in a range of prices, so pick what you’re most comfortable with and get ready to take professional quality photos! Yeehaw!
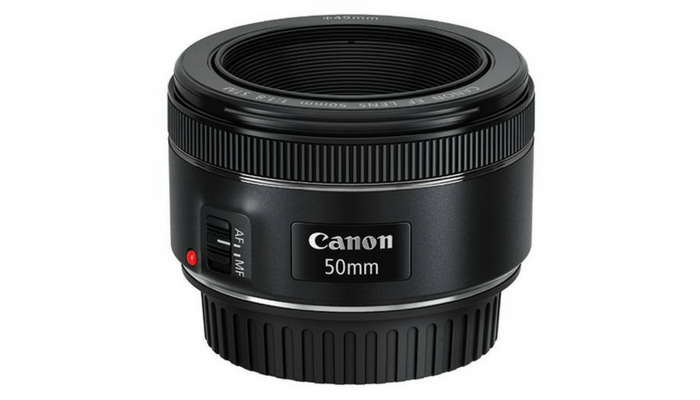
50MM F/1.8 LENS
For under $200, a 50mm f/1.8 lens will give you that bokeh effect (that’s fancy for blurry background) you’re looking for without you dipping into junior’s college fund. Although this lens doesn’t allow you to zoom, it is the perfect length for taking those portraits of your kids, and results in super crisp professional-grade photos.
Canon EF 50mm f/1.8 STM lens (only $125!!)
Nikon AF-S FX NIKKOR 50mm f/1.8G Lens with Auto Focus
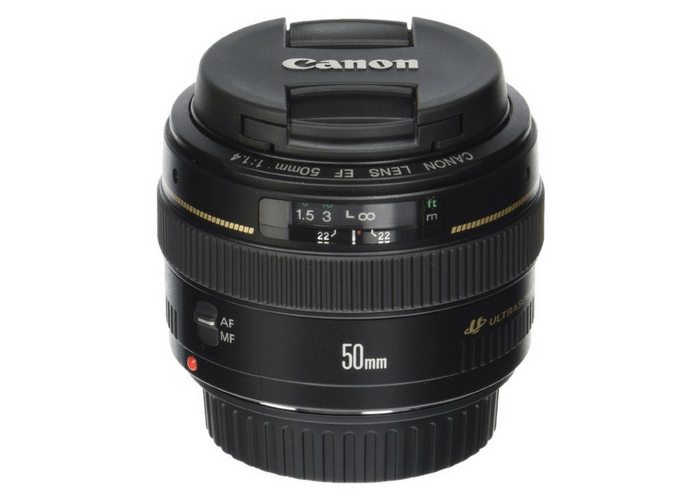
50MM F/1.4 LENS
Now, one step up from the 50mm f/1.8 is the lens that is on our camera right now, the 50mm f/1.4. For a little extra money, you’ll amp up the colors and background blur even further. If you like the look of the photos featured in this post, they were all taken with this Canon 50mm f/1.4. It is stellar.
Canon EF 50mm f/1.4 lens
Nikon AF-S FX NIKKOR 50mm f/1.4G Lens with Auto Focus
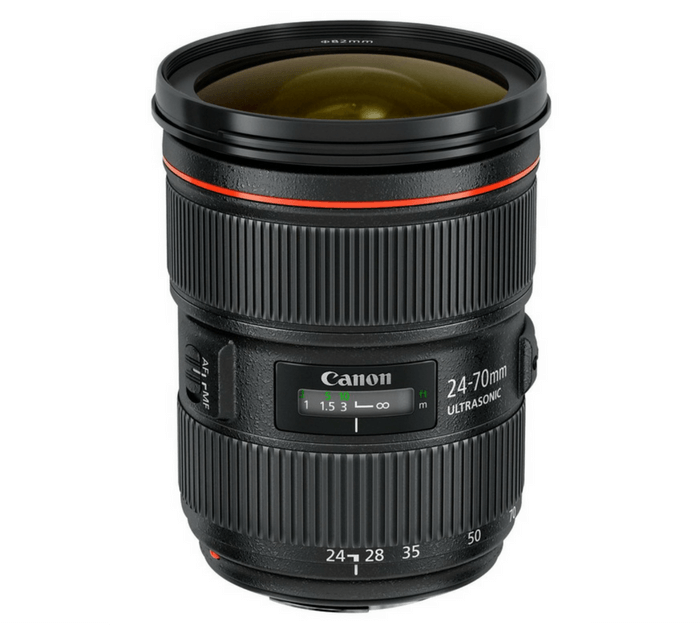
24-70MM F/2.8 LENS
Now if you want a killer lens for getting that blurry background that you can also zoom with, then you’re starting to go into big bucks territory. But if you can swing it, the 24-70mm will take your photos to new levels. There’s no possible way you will be disappointed, the photos you will take with this lens will blow. you. away.
Canon EF 24-70mm f/2.8L USM Standard Zoom Lens
Nikon AF-S FX NIKKOR 24-70mm f/2.8G ED Zoom Lens with Auto Focus
Look at it this way, your photos of your kids will serve as memories for the rest of your life (and theirs), and investing in a quality camera and lens will allow you to perfectly capture their moments that can never be recreated. And with one of these lenses (and the steps you learned here), we promise you will never, ever have to pay for a professional photo shoot of your kids again – over time, it literally pays for itself!
The one thing we can’t help with: getting your children to cooperate with your new-found photography skills.
Good luck mamas, and follow us on Instagram @whatmomslove and use hashtag #whatmomslove with any pics you’ve taken using our tips! We’d love to see them.
Bonus! Want to know how to create a blurry background in your photos after you’ve taken them?
We’ll send you a full step-by-step tutorial (with screen shots and examples) for 2 apps that you can use after you’ve snapped a pic. These are amazing apps that are simple to use and can make your regular iPhone photos have that buttery soft backdrop. (1 of them is even FREE…the other is just $0.99 so a teeny investment compared to a DSLR lens!)
You’ll also get access to our full library of exclusive resources including 10 Screen-Free Toys for Guaranteed Quiet Time, our Printable Birthday/Holiday Coupon Book and 35 Healthy Food Subs & Swaps For Family Meals. Sign-up below!
Where should we send your bonus blurry background tips?
Join over 120,000 subscribers & social media followers and gain access to exclusive content, freebies, discounts & more (including your Blurry Background Bonus Tips!)


Love these tips – thanks!
This is so nice to know! I take so many pictures and love knowing I can edit them myself. Thanks for sharing!
Great tips. I’m finally learning how to use my camera. I use it for food photography but love to take photos of my babies also.
that 50mm 1.4 is my favorite starter lens. it’s a great one to start with and the price point is perfect. even the 1.8 is worthwhile and just a bit cheaper!
Great tips! My hubby has a fancy camera that I’ve always been so nervous to use. However, I’ve been wanting to learn to use it myself for years now. Now that I’m blogging, I think it’s time I finally bite the bullet and give it a try! Thanks for making it easy to understand 😉
You can do it! Play around with it and you will get hooked!
Looking forward to trying these tips! I love my Canon Rebel but am still working on getting off the auto mode! Thank you for sharing!
This was so helpful! I’m going to try it when my Tera wakes up from her nap! I think of the most common misconceptions of anyone ever is that if you have a fancy, expensive camera, you will automatically have gorgeous photos. NOT TRUE! I think I need to step up my game and possibly take a photography class! Your pictures are gorgeous and your advice is really helpful (and understandable!)
Wow, thanks for the tips! Your photos are fabulous!
Awesome post! I don’t have children but I have been wanting to learn about taking photos of objects with blurred backgrounds.
Great, these steps will work with any subject, not just kids!
GREAT tips! Working on my photo skills and this helos alot!
Great tips, thanks! I do love my 50mm/1.8 lens..it’s a great starter lens before I invest in anything more 😉
These are great tips! I will have to check my camera and see if these ideas will work. Thank you!!
Thank you for sharing these wonderful tips. I will be trying them out the next time I take photos!
We just got a 50mm 1.4 and I LOVE it! Thanks for this post!
Yay! It is a super fun lens to shoot with 🙂
Great tips!! I’m still learning how to get that blur so this helps a lot!!
xoxo,
Angelle
http://www.dashingdarlin.com
Great Tips!
Thanks for sharing! I have always wondered how that was done!
5
This was a great article! I wish I had known this when my kids were little.
5
These are some AWEEEESOME tips!! For the first year that I had my camera, I ONLY shot in automatic mode, which was really just a disservice to the camera and myself. Lately, I’m playing around more and more in manual, and I LOVE it so much! You never truly see what your camera can do until you get out of auto. Thanks for sharing!
Thank you! Finally someone who can explain it to me in layman terms!!
Great tips! I love my nifty fifty; it takes such great photos when the lighting is just right.
Do you have any suggested lenses for Nikon cameras for a blurred background?
Hi Hayley – Yes! Although we included only a pic of the Canon lenses, we also list the Nikon alternative for each.
Great tips here as my goal this month is to take better photos! Thanks!!
Excellent tips! I’m new with photography and appreciate this help. Thank you!
Great tips, I learned a lot!
Such great tips!
Great tips! I just start using my Nikon 50mm f/1.8 Lens and this will definitely help me take better pics. Thanks!
Thanks for the step by step instruction. I love how these images look
This was great!! Your instructions were simple enough, I think I can actually do this. I can’t wait to try!
I love that your tips are in easy to understand language! So simple. Can’t wait to try this out.
Thanks for these tips! I’d been wondering how people get those dreamy backgrounds 🙂
Great tips these are very helpful! I have the 50mm lens and love it!
This was the most conprehenskve blur tutorial I have ever read! I cannot wait to try this out tomorrow with my camera— thank you so much!
I took photography class in high school, then forgot all of this! I can’t wait to try these out!
everyone needs the 50mm lens it’s the best!
I love my DSLR camera and the 50mm lens is my go to!
Great tips! I’m pinning this because I’m still trying to get that elusive blur.
Thank you for making this so clear and easy-peasy. I photograph my fur babies…same principles apply. I love my DSLR and I do have the lens upgrade so I can go for it!
4.5
4
Thank you for making this so clear and easy-peasy
Great tips! My mom has an older Canon Rebel XS, but just purchased the 50mm f/1.8 lens. Do you think she can still get the same bokeh effect using this new lenses, even though it’s an older canon rebel, and not the t6?
Hi Casey – yes! The lens is much more important than the camera body, so she should be golden!